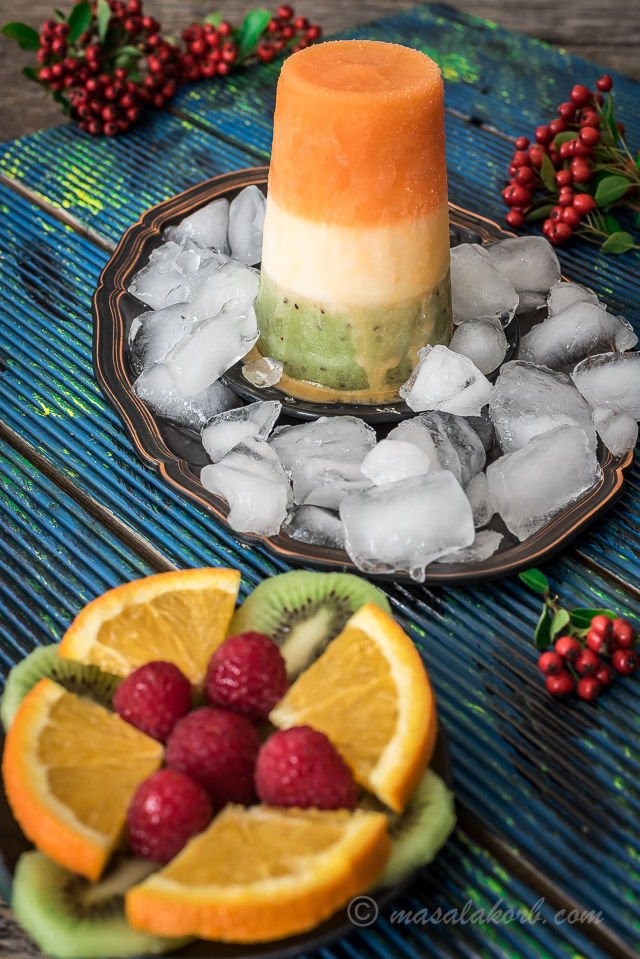
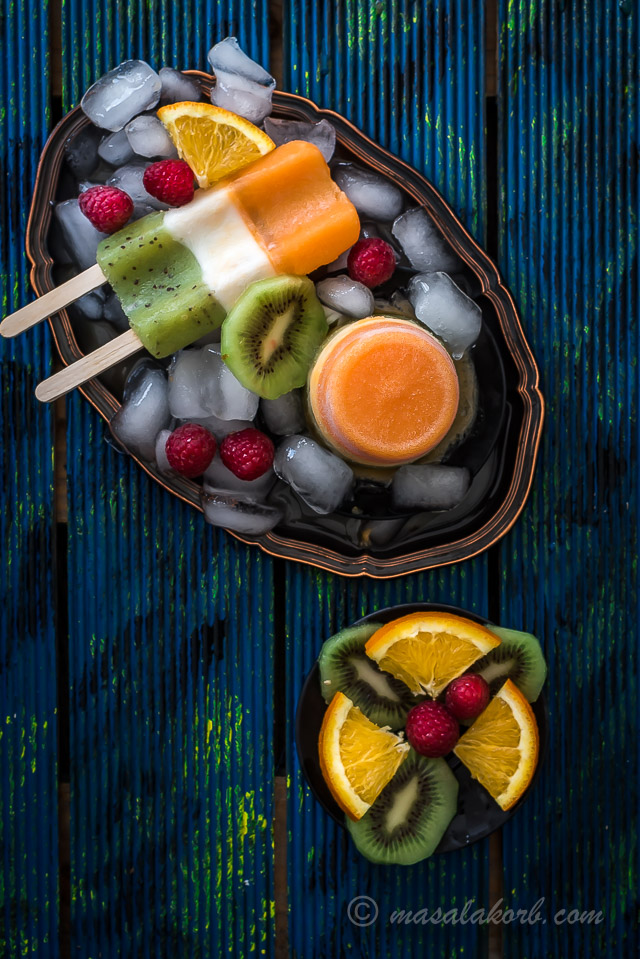
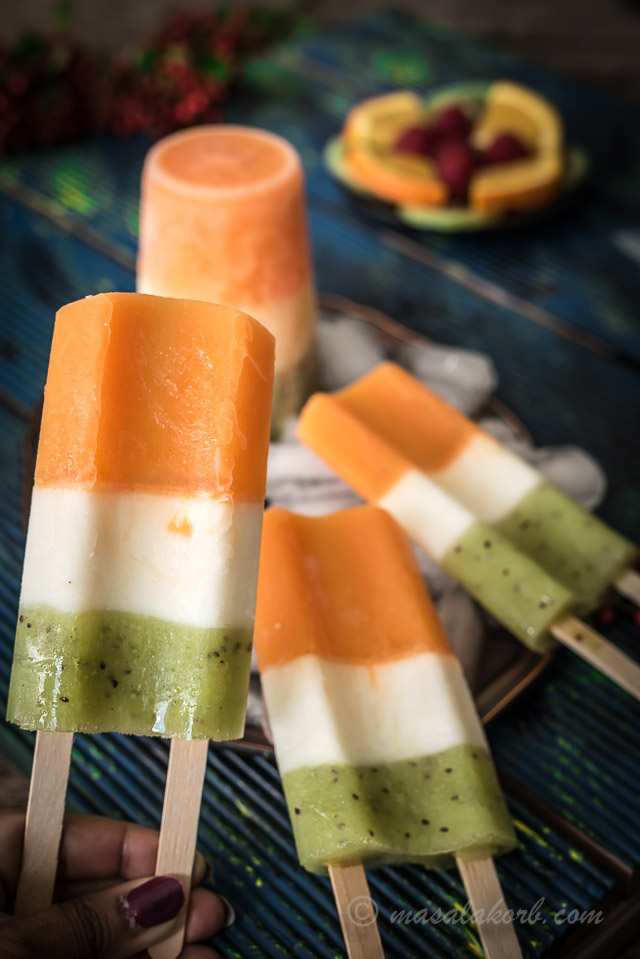
Celebrating our Independence Day and Republic Day induces a sense of respect and pride for our country. Ignite the patriotic foodie in you and make something special for this Independence Day celebration. I’m bringing to you a gloriously refreshing treat on the occasion of India’s 71st Independence day with this Homemade Ice Cream Popsicle Recipe.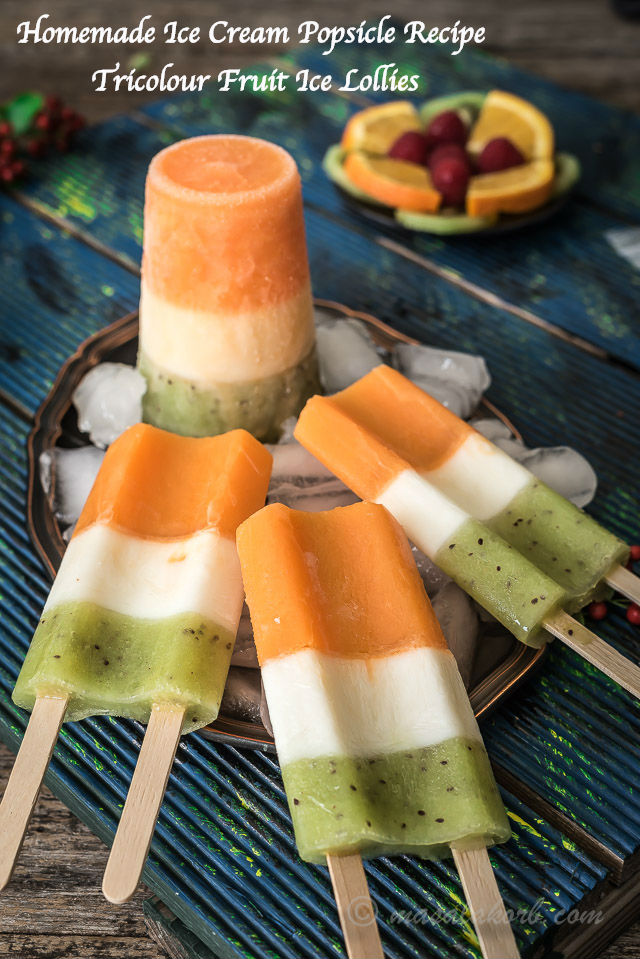 Tricolour fruit pops has the 3 colours of the Indian Flag: Saffron, White and Green.
- Saffron Colour: Indicates the strength and courage of the country.
- White Colour: Indicates the peace and truth with Dharma Chakra.
- Green Colour: Indicates the fertility, growth and auspiciousness of the land.
In today’s Homemade Ice Cream Popsicle Recipe, I’m using Cantaloupe melon to indicate the saffron colour, Greek yoghurt for the white and kiwi fruit to indicate the green colour. You can change fruits according to your taste and favourite colours. Tried to represent the chakra by dropping a blueberry in the middle layer, but, I wasn’t happy with the outcome…So, the photo didn’t make it to the post!!
Making and clicking popsicles is way harder and messier than it looks. Just a second, Let me clarify ….especially if you are attempting to make tricoloured popsicles!! These fruity freezers are super fun for you to make with your kids, and they can get more and more experimental with flavours and fruits. Click HERE to watch the video!!
Also, do check out my Tiranga Dhokla Recipe.
Off to Homemade Ice Cream Popsicle Recipe!!
Steps to follow for Homemade Ice Cream Popsicle Recipe:
Click HERE to watch the video!! Scroll down for a detailed recipe with stepwise pictorial guide.
For the Orange Layer:
- Combine cantaloupe melon pieces, sugar (optional), and lime juice in a blender. Puree until smooth, scraping down sides. Fill ice-pop molds 1/3 of the way full. Freeze until firm for at least 2-3 hours.
TIP:
Replace lime juice with some orange juice.
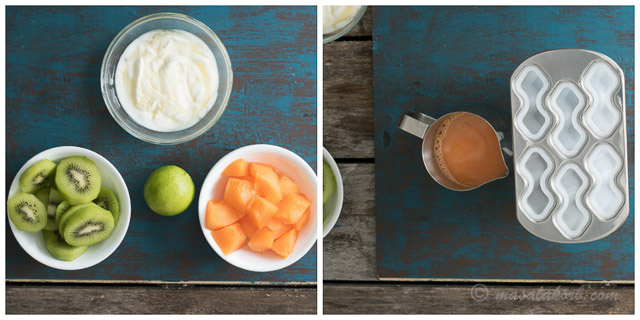
For the White Layer:
- Whisk together greek yogurt (or plain yoghurt) and honey in a small bowl. Remove molds from freezer and top with yogurt mixture, filling another 1/3 full. Put it back in the freezer until it’s slightly frozen, approximately 45 minutes. Now, insert popsicle sticks and freeze until firm for about another 1-2 hours.
For the Green Layer:
- Peel and slice the kiwi into small pieces. Combine kiwi pieces and sugar (optional) in a blender. Puree until smooth, scraping down sides. Remove molds from freezer and top with kiwi mixture, leaving 1/4-inch free space from the top of the molds. Freeze until solid for at least 3-4 hours.
NOTE:
In case you don’t have molds, you can just follow the same procedure and use a disposable cup or any other form to hold the popsicle. The cone popsicle you see in the photos is a simple disposable cup.
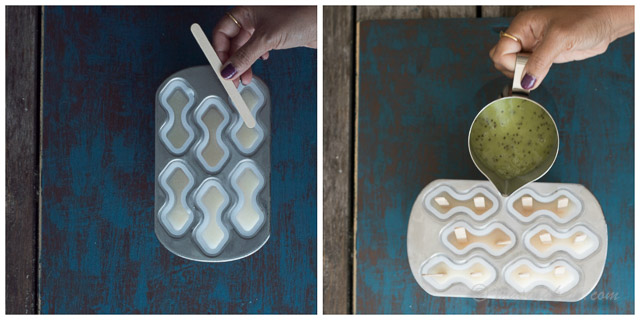
- The process of working with you through these steps –from chopping up the fruit to carefully layering it with the yoghurt, and the waiting and observing of the freezing process takes a while….just be patient!!
- Before serving, briefly run molds under hot water to release the pops or leave it to stand for a minute or so. You’ll then find the Popsicle slide out easily.
Eat quickly before they melt!!…..But, for me, it was click quickly before they melt 🙂
A Quick Summary:
Homemade Ice Cream Popsicle Recipe | Fruit Juice Ice Lollies (Pops) | Tricolour popsicle Recipe | Independence Day Special Recipe
Ingredients
For the Orange Layer:
- 1 cup Cantaloupe melon pieces
- 1 Tablespoon sugar optional
- 2 teaspoons lime juice
For the White Layer:
- 3/4 cup Greek yogurt or Plain yoghurt
- 1 Tablespoon Honey
For the Green Layer:
- 1 cup Kiwi pieces
- 1 Tablespoon sugar optional
Instructions
- For the Orange Layer: Combine cantaloupe melon chunks, sugar (optional), and lime juice in a blender. Puree until smooth, scraping down sides. Fill ice-pop molds 1/3 of the way full. Freeze until firm for at least 2-3 hours.
- For the White Layer: Whisk together yogurt and honey in a small bowl. Remove molds from freezer and top with yogurt mixture, filling another 1/3 full. After 45 minutes, insert popsicle sticks and freeze until firm for about another 2 hours.
- For the Green Layer: Combine kiwi pieces and sugar (optional) in a blender. Puree until smooth, scraping down sides. Remove molds from freezer and top with kiwi mixture, leaving 1/4-inch free space from the top of the molds. Freeze until solid for at least 3-4 hours.
- Serving: Before serving, briefly run molds under hot water to release the pops.
Recipe Video
My Notes:
- Adjust the sugar according to your preference depending on the sweetness of fruits.
- You don’t need to stick to my choice of combination, you can also try out other fruits to give the colours needed.
- Lemon is optional…I like tang to my popsicle and so included!!
- Completely freeze each layer before adding the next layer, otherwise it will seep through and the colours will blend.
- As it’s a layered popsicle, the setting time is comparatively longer.
.
I was honestly ready to declare I would never ever make these treats again, but then I tasted it. The concoction was a refreshingly sweet n tangy mixture of flavours…we really enjoyed!!
Do check out my Tiranga Dhokla Recipe.
Check out other FROZEN DESSERT RECIPES from blog!!
Many more to come!!…..STAY TUNED!!
Hungry for more? Never miss a recipe!!…Subscribe to MasalaKorb and have posts delivered straight to your inbox! And connect with me on Facebook, Google, Twitter, Instagram and Pinterest for all of the latest updates.
Happy Cooking 🙂
Cheers!!
Padma.

