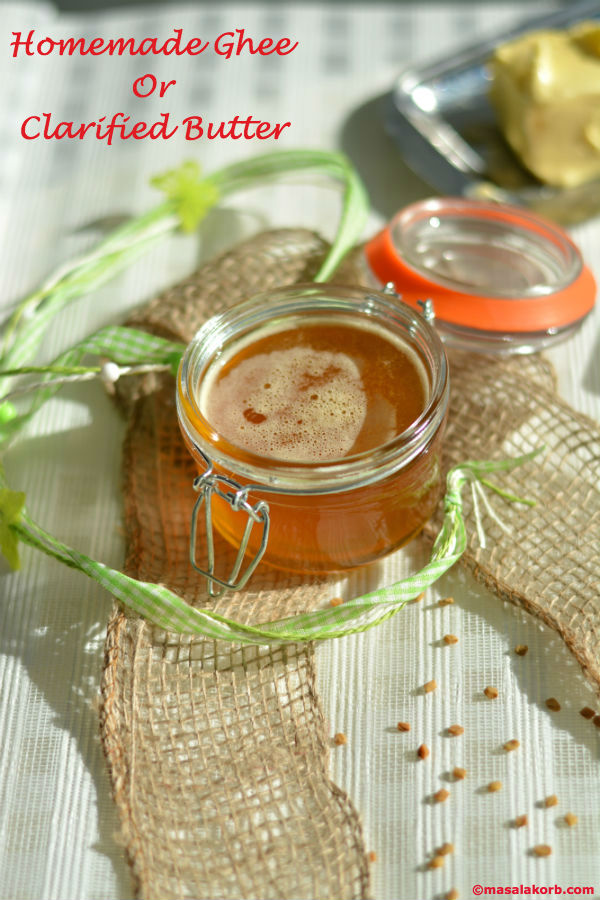
 Is Ghee healthy for us?…If, yes..How much can one consume?…Which ghee is good for us?…Is store bought ghee good or Homemade ghee or clarified butter is good?…How to make ghee at home?…There are so many questions associated with ghee. Let’s find the answers to at least a few of them.
Homemade ghee or clarified butter, which was an essential part of the Indian cuisine, has lost its sheen these days due to the advent of other substitutes. Many ‘health-conscious’ people dismiss adding ghee to food as an unhealthy practice and shy away from it completely. After being on the sidelines for so long, ghee has recently scored a rep as a healthy fat. There are fats that kill and then there are those that heal. The traditional homemade ghee or clarified butter, which our grandmothers churned and boiled at home is clearly the latter.
Ayurvedic cooking is a much sought after method meant to nourish, cleanse and purify our body. Anyone who has dabbled with it would know the importance of Ghee in Ayurveda. It’s not the Ghee you get at the stores or what is being made in so many households today. It talks about the ghee that comes from butter made from yogurt and not milk. The traditional way to prepare ghee is a lengthy route of culturing the milk into yogurt, gathering the cream from it, churned to butter and then finally to ghee. What’s left is a rich, nutty-flavoured liquid. Making homemade ghee or clarified butter is not nearly as intimidating as it sounds, but it does require low heat, patience and a watchful eye. An alternate to the lengthy route, I would suggest is to buy good quality cultured butter and then make ghee from it.
If you are interested to know more about Ayurvedic perspective of Ghee, then click here.
Most of the ghee available in the market today is hydrogenated vegetable oil, and heated milk fat. These kinds of saturated fats are extremely bad for the system, as they do not digest properly, causing obesity and increasing cholesterol levels. Pure ghee contains only those fatty acids or saturated fats that are primarily (89%) short chain fatty acids, unlike some other animal fats.
Ghee can be produced naturally without chemical processing, so that it has a clean-eating vibe. It cooks well at high heat, making it ideal as a fat for frying. The traditional ghee, which is a more suitable cooking medium compared to oil due to the fact that ghee does not burn (smoke) easily, even helps reduce obesity. If you take a tablespoon of ghee every night, followed by a few sips of hot water, it helps regulate bowel movements and improves digestion. Over time, this helps cut down body fat. Click here to read more.
Again the question, Is Ghee Healthy For You?
Before you indulge in pure ghee, keep in mind:
- Consume pure ghee if you are free from cardiovascular diseases, are not overweight.
- Completely avoid ghee if you are obese.
- The recommended amount of fat consumed in the entire day is 10 to 15 grams per person.
- Ghee is mostly considered unhealthy when consumed without the necessary portion control.
There are numerous health benefits of ghee. For more information click here.
An added bonus, your home will be filled with such an intoxicating aroma after you’re done making ghee, you’ll almost want to cry![]() .
.
Let’s move on to the process of making Homemade Ghee or Clarified Butter.
Step-by-Step Process in Making Homemade Ghee or Clarified Butter:
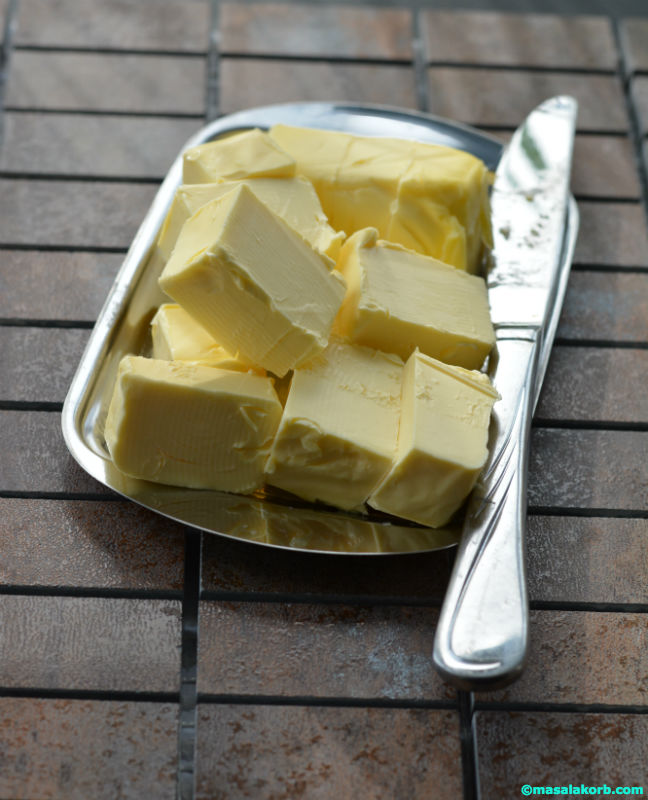
- For fast melting, cut the unsalted butter into cubes.
- Place butter cubes in a heavy saucepan and heat it over medium-low heat.
- Allow the butter to melt slowly. This takes about 5 to 7 minutes.
- Then reduce to a simmer.
- Cook for about 10-15 minutes stirring occasionally with a spoon (time will vary based on the quantity and how hot your stove is).
- During this time, the butter will go through several stages. You will find the fat separating from the milk solids. It will foam, then bubble, then seem to almost stop bubbling and then foam again.
- Add fenugreek seeds after the first foaming and when it stops bubbling . This is optional. Adding fenugreek seeds enhances the flavour of the ghee and also restores its flavour when stored for long duration.
 Just scrape the sides of the pan from time to time to help those milk solids sink to the bottom.
- As the milk solids sink to the bottom, you will notice that your liquid is beginning to clear up.
- It will get more and more translucent, the bubbles will get larger and the foam will eventually completely disappear.
- When the second foam occurs, the ghee is done.
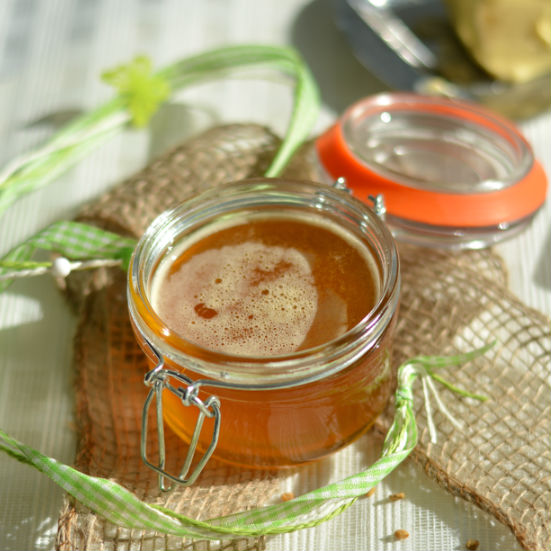
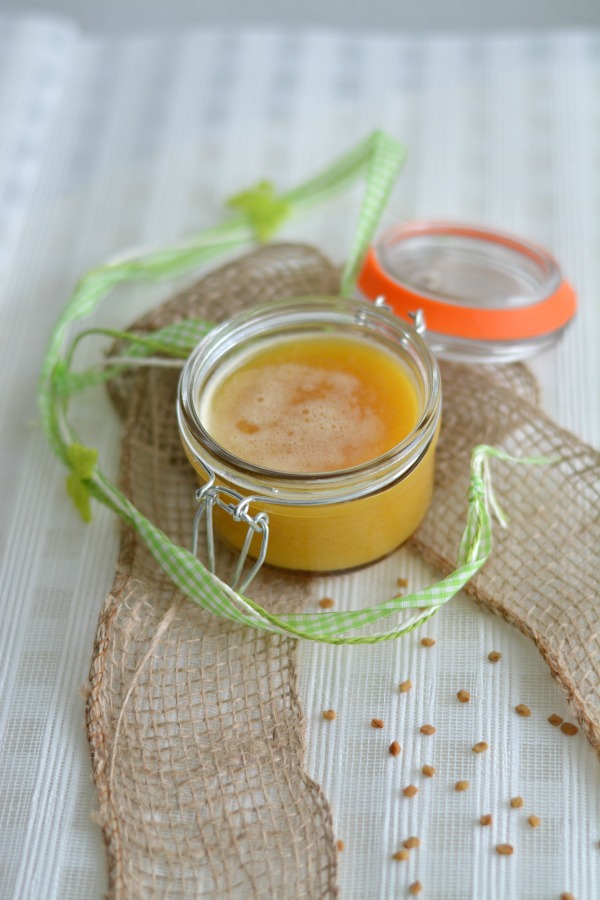
- At this point, the melted butter should be bright gold in colour and there should be reddish brown pieces of milk solids at the bottom of the pan.
- Let the ghee cool slightly for 2-3 minutes and then slowly pour through the wire mesh strainer lined with several layers of cheesecloth.
- What’s left is a rich, nutty-flavoured liquid that’s traditionally poured over rice and lentils and brushed on other foods, such as bread. It is also extensively used in many Indian sweet preparations.
- The small bits of milk protein are usually discarded, but when eaten along with hot steaming rice and mango pickle, it tastes out of the world.
- Or you can also mix those tiny brown bits with flour and a small amount of honey to make a flavourful fudge-like treat.
- The smell alone will probably make you weep for joy!
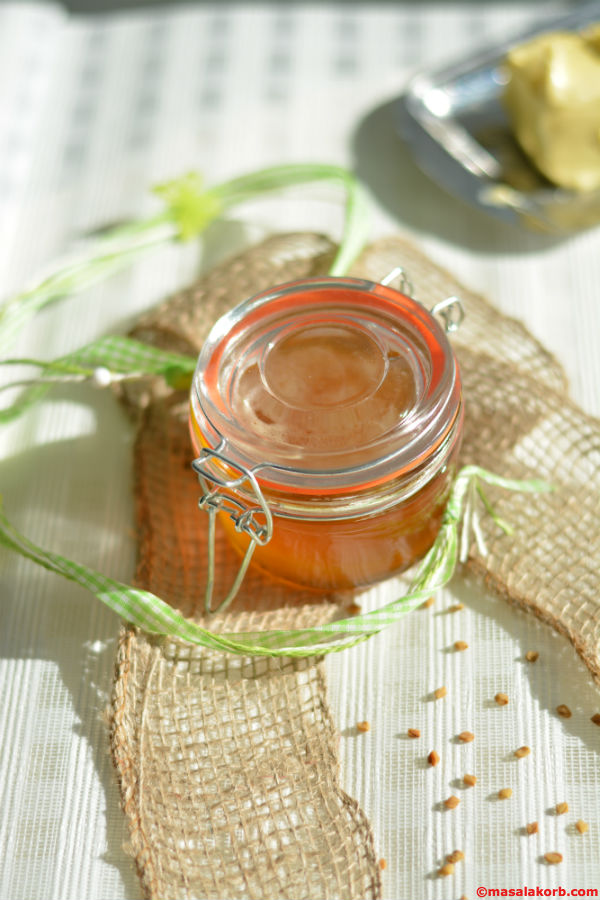 Making clarified butter is not nearly as intimidating as it sounds, but it does require low heat, patience and a watchful eye.
- Ghee will be fresh with aroma & last up to a month at room temperature or even longer in the fridge. I usually store mine in the fridge.
- At room temperature, ghee becomes semi-solid. With refrigeration, it hardens and can be stored covered and used for almost 6 months. If you live in cold area, it will solidify at room temperature just like coconut oil.
- Ghee is much more flavourful than butter, but use it sparingly!!
Homemade Ghee or Clarified Butter
Ingredients
- 250 grams unsalted butter Used organic butter
- ½ teaspoon Fenugreek seeds
- Equipment:
- A medium size saucepan
- A fine wire mesh strainer
- Several layers of cheesecloth to line your sieve
- A spoon to stir
- A clean jar for storage
Instructions
- Cut butter into cubes and place in a heavy saucepan. Heat it over medium-low heat.
- Allow the butter to melt slowly. This takes about 5 to 7 minutes.
- Then reduce to a simmer.
- Cook for about 10-15 minutes stirring occasionally with a spoon..
- During this time, the butter will go through several stages. You will find the fat separating from the milk solids.
- It will foam, then bubble, then seem to almost stop bubbling and then foam again.
- Add fenugreek seeds (optional) after the first foaming and when it stops bubbling. Adding fenugreek seeds enhances the flavour of the ghee.
- Just scrape the sides of the pan from time to time to help those milk solids sink to the bottom.
- As the milk solids sink to the bottom, you will notice that your liquid is beginning to clear up.
- It will get more and more translucent, the bubbles will get larger and the foam will eventually completely disappear.
- When the second foam occurs, the ghee is done.
- At this point, the melted butter should be bright gold in colour and there should be reddish brown pieces of milk solids at the bottom of the pan.
- Let it cool slightly for 5 minutes and then slowly pour through the wire mesh strainer lined with several layers of cheesecloth.
- The sediment is discarded.
- Ghee will last up to a month at room temperature or even longer in the fridge.
- Ghee is much more flavourful than butter, but use it sparingly!
Notes
Use low heat so the butter will not burn.
You can also use drumstick leaves instead of fenugreek seeds. Both of the enhance and retain flavour of ghee.
Do not let any water get into your clarified butter or ghee jar. A drop of water can easily promote bacteria and spoil the ghee.
You might want to check other popular posts in my blog which uses homemade ghee or clarified butter as a part of the recipe- Carrot Halwa, Coconut Burfi, Beetroot Halwa, Bread Rasmalai, Sweet Pongal, Ven Pongal, Paneer Butter Masala, Rice Kheer..and many more to come!!…Stay Tuned!!
Happy Cooking 🙂
Cheers!!
Padma

