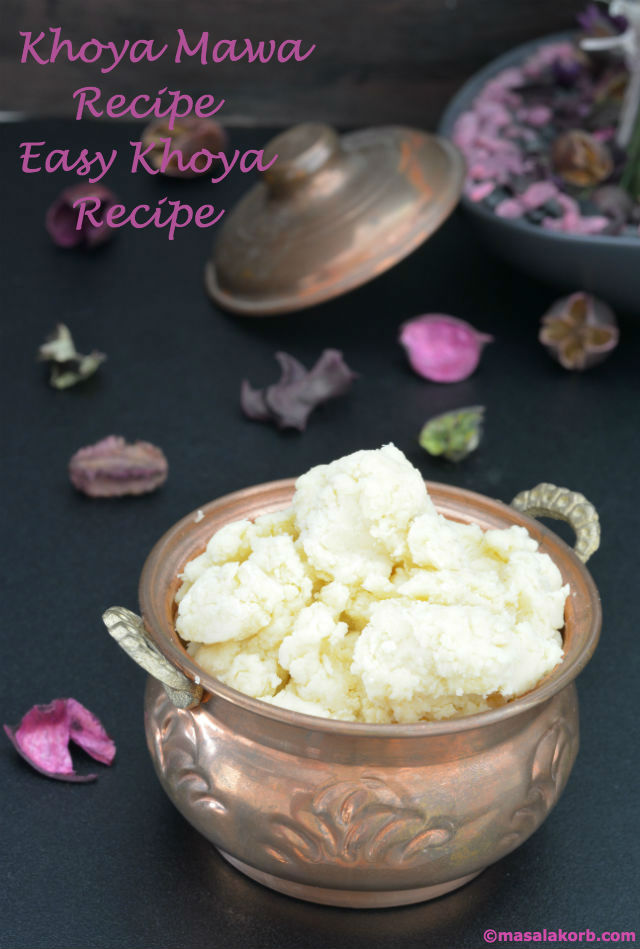
 Diwali is round the corner and the blogosphere is flooding with amazing sweet delicacies. This time of the year calls for family get together, my most favourite shopping, lots of cooking and of course eating rich flavourful meals followed by different types of sweets. Nothing can be more blissful than making fresh sweets at home for such special occasions and making the day even more special. In my last post on Rjasthani mawa kachori, I had mentioned that l would be sharing a few recipes using Khoya. I’m here today to share the basic traditional Khoya Mawa Recipe-Easy Khoya Recipe. Khoya or Mawa is basically dried milk, which is the main ingredient used for making most indian sweets.
Khoya Mawa Recipe-Easy Khoya Recipe is a process where milk is simmered in a heavy bottomed non-stick pan for about an hour to several hours over a medium heat. The gradual vaporisation of its water content leaves coagulated solids in milk, which is khoya. The key to follow Khoya Mawa Recipe-Easy Khoya Recipe to make perfect Khoya is your presence, patience and frequent stirring. Making khoya at home is very easy but it is quite tedious and very time consuming. Khoya is easily available in India. It is very easy to make many Indian sweets if this is available. But unfortunately, we do not get readymade khoya here, so I’m forced to make it at home. Make ahead of time and use it later for making any sweets.

There are many different kinds of khoya or mawa. The ingredient used and moisture content plays a primary role in the type of mava that forms.
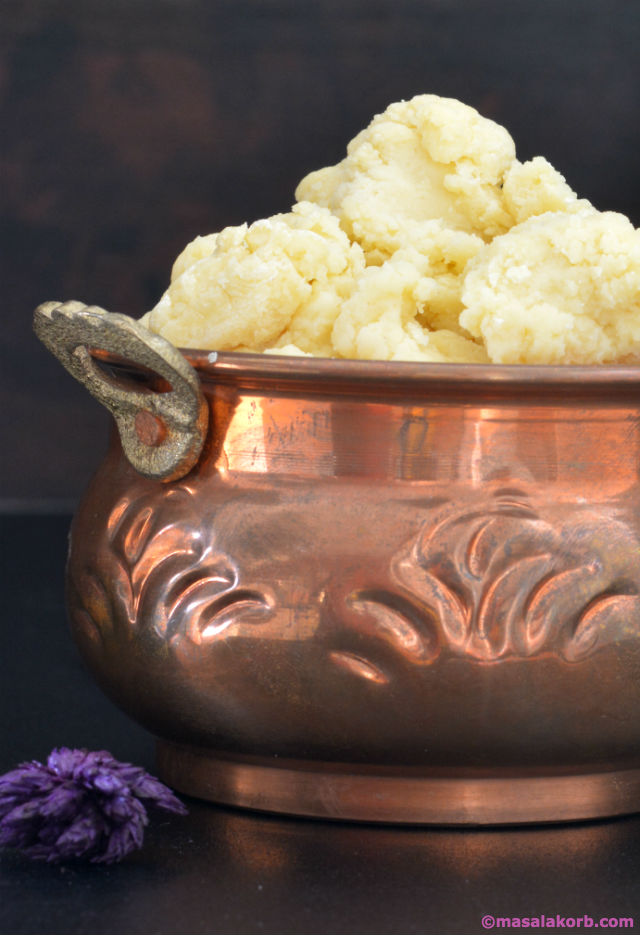
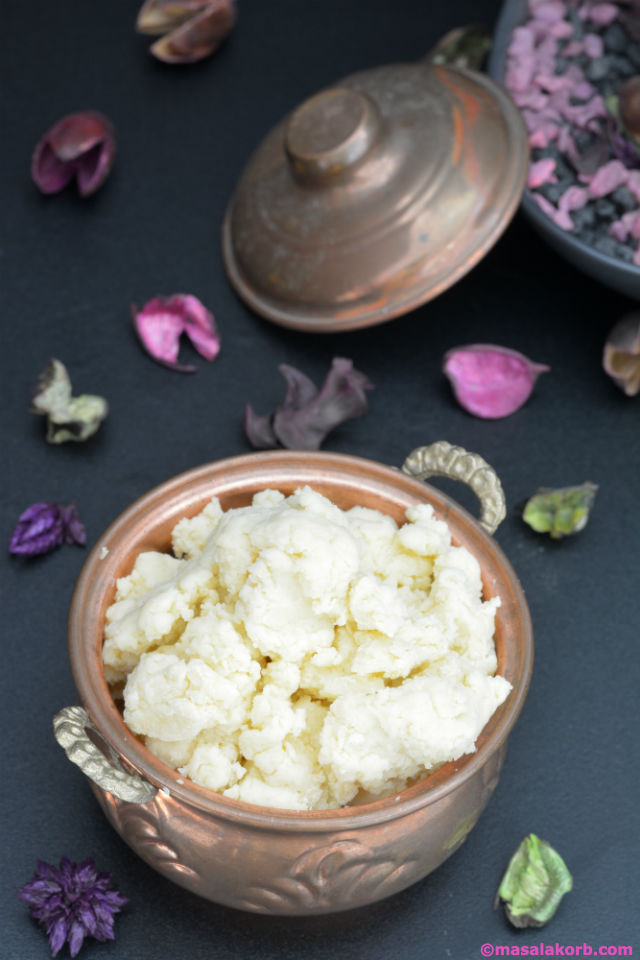
- Hard khoya– is very firm and solid. You can crumble or grate it. It is made by reducing the milk to 1/5 part. Today we are making hard mawa. It is used to make sweets like burfi, peda, etc.
- Soft khoya– also known as Hariyali or chikna mawa. If you are making soft mawa, then stop reducing milk little earlier than the mentioned stage. This mawa is generally added to rich gravies of the Mughlai cuisine, which gives a royal taste to every dish.
- Granular khoya– also known as danedar mawa. It is made by adding some Alum or Tartaric acid which gives granular texture to the khoya and has moderate moisture content in it.
The Khoya Mawa Recipe-Easy Khoya Recipe, which I’m sharing here is firmer Khoya. That means… be ready to make Khoya Jamuns with me…..Stay tuned!!….coming soon!!
Diwali may be the festival of lights but equally, if not more important than the crackers and diyas, are the sweets. Celebrate this Diwali with fun and frolic with some sweets using this basic Khoya Mawa Recipe-Easy Khoya Recipe and surprise your guests with your talent by making different sweets with Khoya.
Step-by-Step process in making
Khoya Mawa Recipe-Easy Khoya Recipe:
Khoya Mawa Recipe-Easy Khoya Recipe is just a one liner – Heat milk, stir often until they become thick.
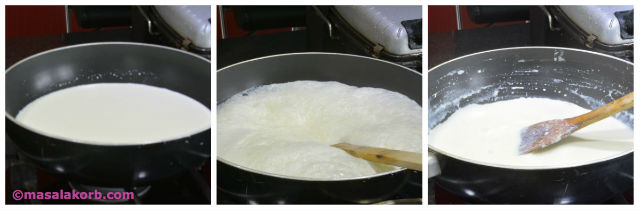
- Heat the milk in a heavy bottomed non-stick pan over medium heat.
- Once it comes to a boil, let it simmer and reduce on medium-low flame. Keep stirring with a wide spatula after every 3-4 minutes. If you are using very tiny spoon or spatula then you might miss some of the bottom surface and milk will stick and get burnt. If you are going to continuously stir then you can also slightly increase the heat but ensure not to burn it.
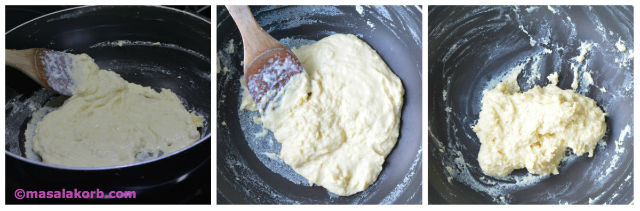
- Keep stirring with scraping the bottom of the pan as well as the sides of the pan. As you cook, milk reduces and becomes grainy.
- After 40 minutes, it will become slightly thick and more grainy. At this stage, you need to stir and scrape sides continuously.
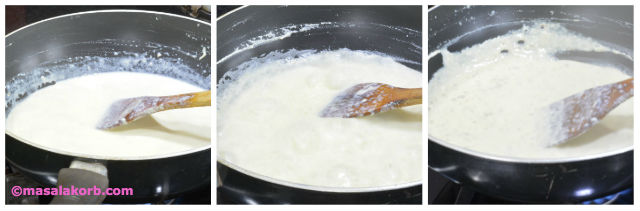
- Continue to stir and cook till it becomes solid or dense like halwa. You will feel that it will take little effort for stirring.
- At this time, turn off the heat. This took me slightly less than an hour, as I had slightly increased the heat with continuous stirring. Otherwise it might take an extra 15 to 20 minutes.
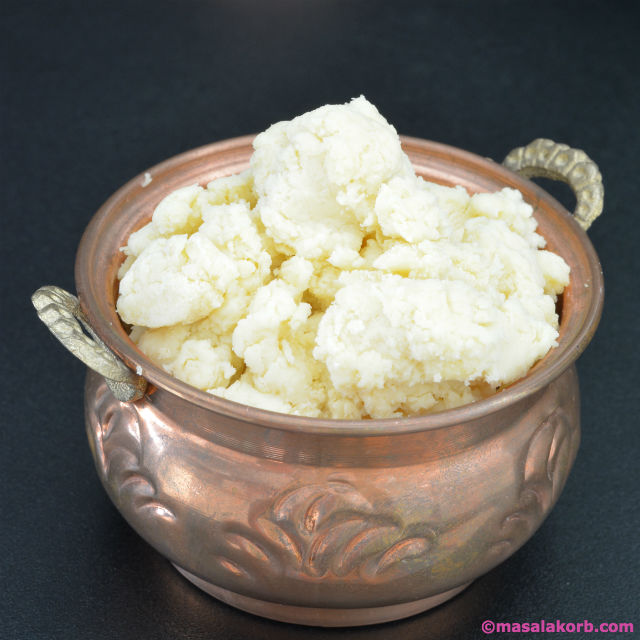
- Remove Khoya to another bowl and let it cool completely. As it cools it will thicken and harden.
Shelf life:
Once Khoya cools down completely, you can refrigerate up to 4-5 days. Or you can freeze it for about a month.
Khoya Mawa Recipe-Easy Khoya Recipe
Ingredients
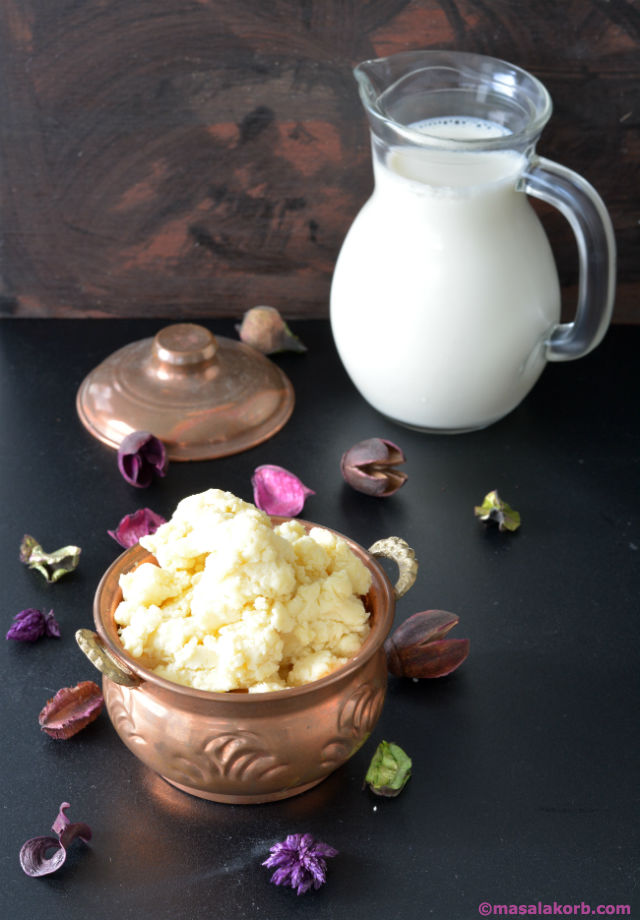
- 1 Litre whole milk, Full fat milk
Instructions
- Heat the milk in a heavy bottomed non-stick pan over medium heat.
- Once it comes to a boil, let it simmer and reduce on medium-low flame. Keep stirring with a wide spatula after every 3-4 minutes.
- Keep stirring with scraping the bottom of the pan as well as the sides of the pan. As you cook, milk reduces and becomes grainy.
- After 40 minutes, it will become slightly thick and more grainy. At this stage, you need to stir and scrape sides continuously.
- Continue to stir and cook till it becomes solid or dense like halwa. You will feel that it will take little effort for stirring.
- At this time, turn off the heat.
- Remove it to another bowl and let it cool completely. As it cools, khoya will thicken and harden.
Shelf life
- Once it cools down completely, it can be refrigerated up to 4-5 days. Or you can freeze it for a month.
Recipe Video
Notes
- Your presence and frequent stirring is the tip.
- Ensure to stir and scrape the sides every 3 to 4 minutes. You cannot leave it alone, burnt milk tastes really bad burnt leaving ugly smoky smell to your milk solids.
- Cooking time may vary depending on the size and shape of the pan used to boil milk and also the quantity of milk.
- It is recommended to use a heavy bottomed non-stick pan and a wide spatula. Thin vessels will burn the milk solids very quickly.
Happy Cooking 🙂
Cheers!!
Padma.
