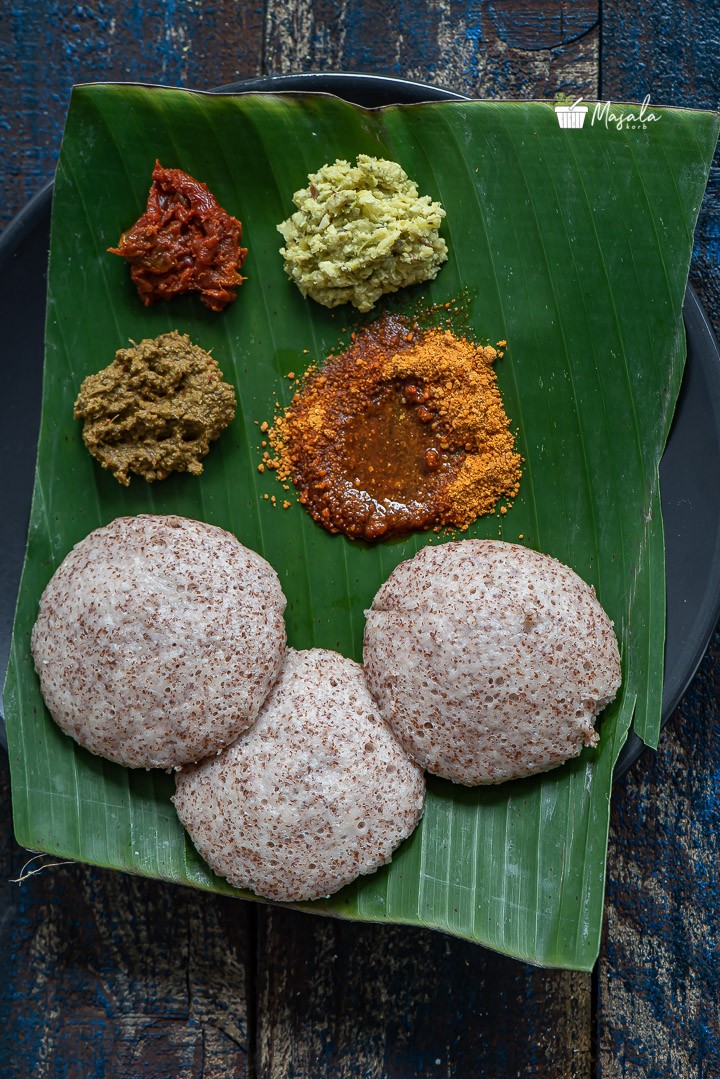
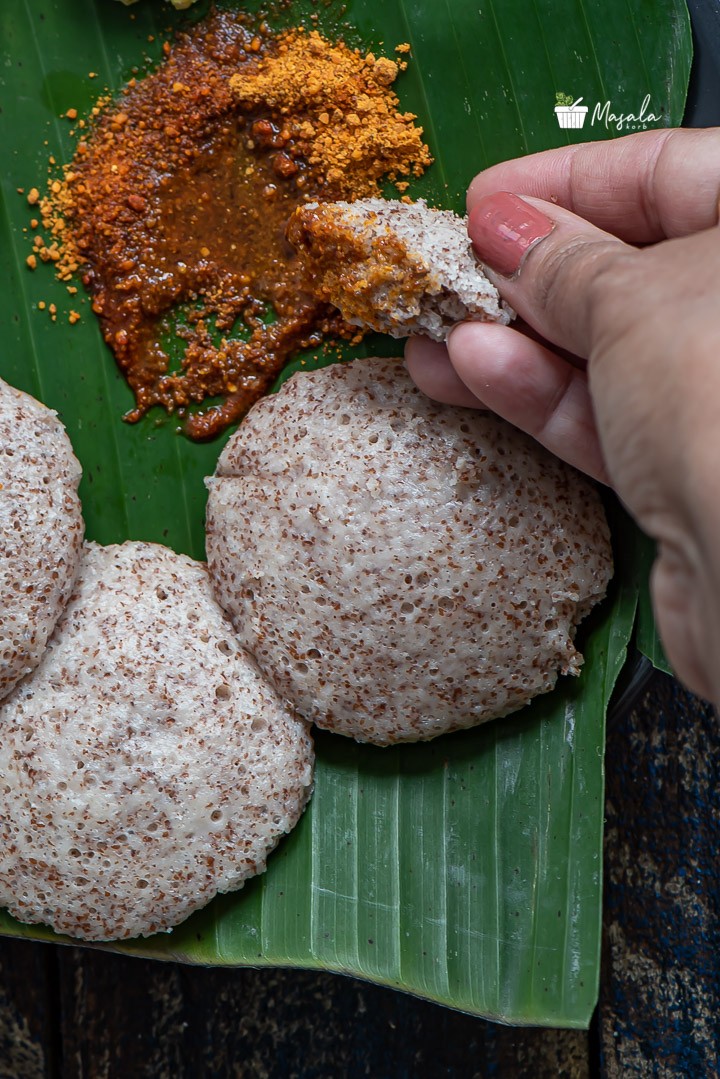
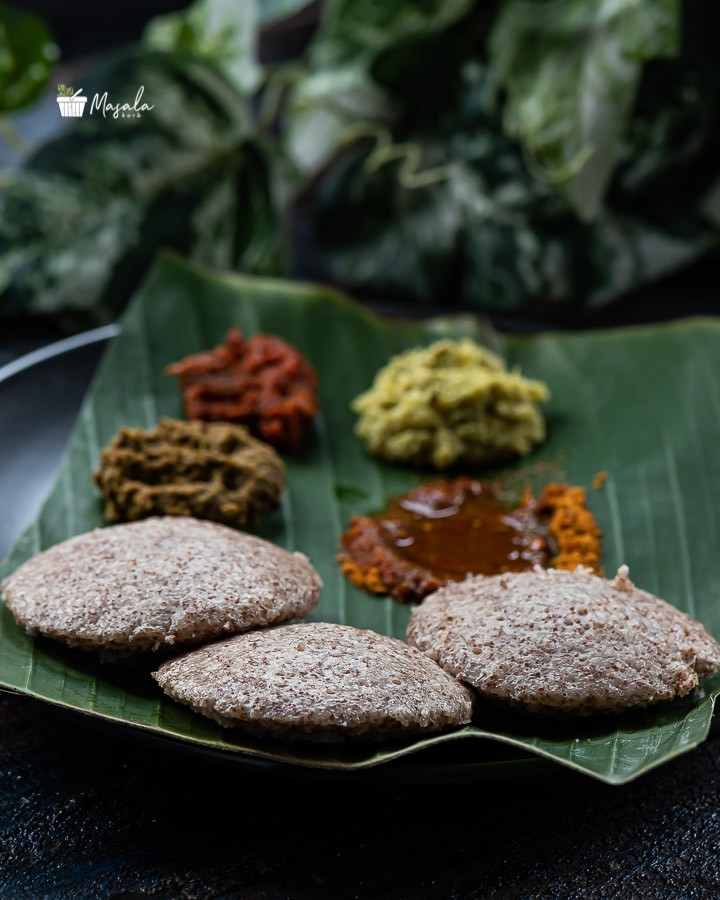
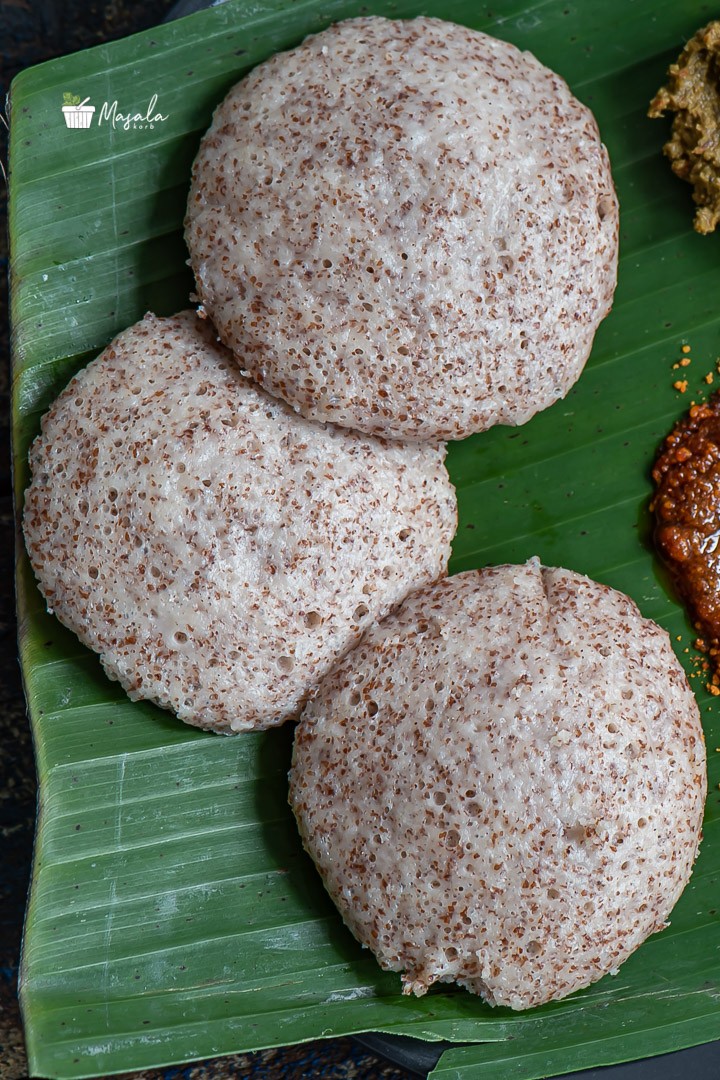
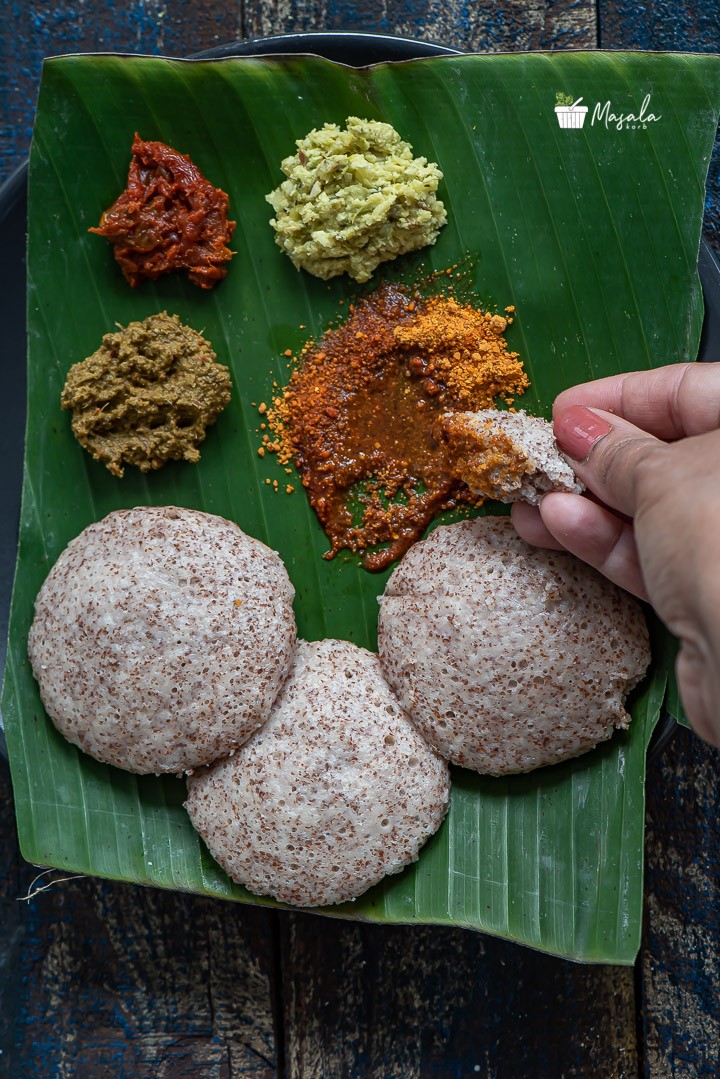
Soft Ragi Idli Recipe – Finger Millet Idli (Vegan & Gluten-Free Recipe) – Include Superfood Finger Millet in your diet with this nutritious ragi idli or finger millet idli. It’s healthy, vegan, gluten-free & super delicious! Quick & Easy breakfast of Ragi Idli with detailed video recipe. Make Ragi Idli in blender with this fail-proof Soft Ragi Idli Recipe!
Health benefits of Ragi
Ragi is also known as Finger Millet or Nachni. We all know, Ragi is extremely healthy plant-based grain….. It’s the new age “Super food” which was earlier considered a poor man’s food or farmer’s diet.
Did you know Ragi is rich in calcium, has a high fibre content, helps in weight loss, battles anaemia, reduces blood cholesterol and also regulates blood sugar levels. Because of its low glycemic index, it helps reduce food cravings and slows down absorption of starch, thus helps in regulating the blood sugar for diabetic. The inclusion of ragi and other millets into the idli and dosa batter, makes it an Indian Diabetic Recipe that you can serve for any meal. This grain is known to have a soothing effect on the gut, and it helps to cool the body in summer. Though finger millet is not so tasty on its own, pairing it with a spicy side dish makes it tasty to eat and this Gluten Free millet keeps you full for longer.
How to make Ragi Idli Batter?
The Homemade Ragi Idli & Dosa Batter Recipe is a simple three stage process – soaking, grinding and fermenting. This recipe of ragi idli & dosa batter is made by soaking the rice and lentils and along with ragi seeds. You can also use other millets like barley, jowar, bajra – soak them and grind it into a smooth batter. This Homemade Ragi Idli & Dosa Batter is fermented and then used to make idli, dosa and uttapam. You can also use ragi flour and semolina to make Instant Ragi Idli. However, I like to use the whole ragi and ferment the batter as fermenting food is healthier than the instant ones.
Sprouting ragi & using it in this Soft Ragi Idli recipe increases the nutritional benefits further more. Soaking and sprouting ragi is easy to digest, high in calcium, protein, low in glycemic index as well as high in vitamin B12, which is a boon to vegetarians. Ragi has the natural property to balance sugar levels in our body, hence it is an extremely good option for all the age groups, including diabetics.
Ingredients Used in Fermented Ragi Idli Batter:
Fermented food is easy to digest and improves your gut health. Fermentation process also gives a distinct sour flavour to the dish.
Whole Ragi Seeds, Urad Dal/ black gram, Idli Rice, and fenugreek seeds are the ingredients used in this recipe. I prefer using Whole white urad dal. Idli rice is a short grain type of rice. You can also use parboiled rice or any thick variety of rice if idli rice is not available. In fact you can even use Brown rice instead of idli rice but the texture will be slightly different. Fenugreek seeds aids in fermenting process & also help in digestion. Though it’s optional, I always like to add fenugreek seeds to my idli dosa batter.
If you do not have access to the whole Ragi Seeds, you can make the batter with 1 Cup Rice, 1/2 cup Urad Dal, 1/2 cup poha and 1 Cup Ragi Flour. Rice, Urad Dal and Poha needs to be soaked and ground like regular idli batter and then add ragi flour, mix it well and set aside for fermentation.
Soaking, Grinding & Fermenting of The Ragi Batter
Soak all the ingredients individually or together. Grinding together helps to get to a smooth paste. If you are using a mixer grinder, you might have to grind in batches depending on the quantity. If you use the traditional wet grinder, grind in one shot! Either ways, Do not add too much water while grinding. We need a thick batter so that the batter ferments well and we get perfect soft idlis. For tips on how to grind the batter and ferment the batter in cold climate check out my detailed post on idli dosa batter.
Easy Steps to follow for
Soft Ragi Idli Recipe – Finger Millet Idli
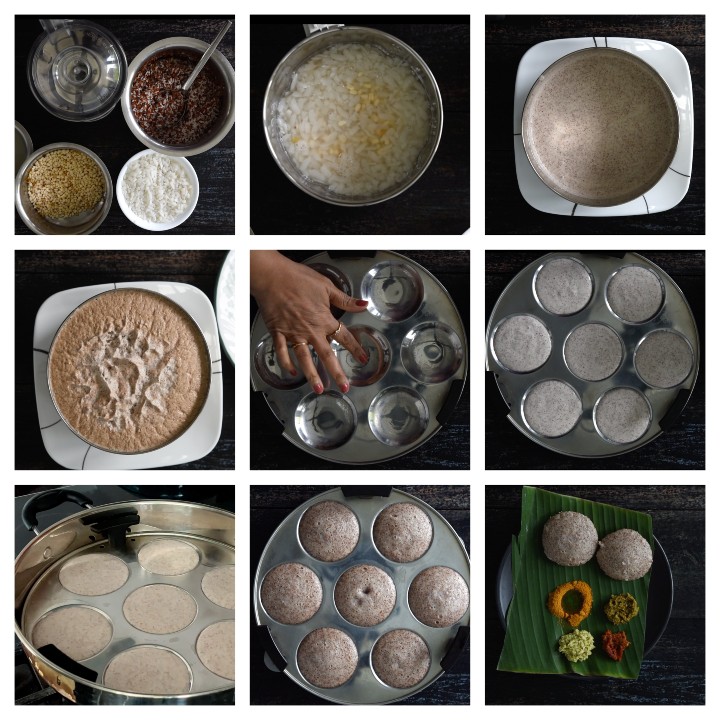
- Wash and soak Ragi, Rice and Whole Urad Dal separately or together for at least 8 hours. Soak Poha/Flattened Rice 1 to 2 hours before grinding.
- Drain out the all the water. You can drain water from urad dal & use it for grinding. This will speed up the fermentation process.
- Add to the mixer jar and grind everything together adding required salt & water. I’m using a mixer grinder to grind, you can also use a traditional wet grinder.
- Transfer batter to a large bowl and set it aside for 8hrs/overnight until it is well fermented & doubles up in volume.
- Heat water in a idli vessel or steamer. Mix the fermented Ragi idli batter well and pour a ladle of batter into the greased idli moulds and place it inside the steamer or idli cooker.
- Steam cook for about 10 minutes or until a toothpick inserted in the centre of the idli comes out clean. Once done, cool down for 5 minutes. Sprinkle water and remove from the mould.
- Serve hot with sambar, chutney or any side dish of your choice.
Can we make dosa with same batter?
Yes, you can make dosa using the same batter. You just need to adjust the consistency of the dosa batter. Thin out the same batter out by adding a little water. Prepare idli on day one and make dosa the following day. The more the batter is fermented the better is the dosa, it comes out nice & crisp.
You can also make uttapam and paniyaram using the same batter. Check out healthy Barnyard Millet Dosa.
How to make Instant Ragi Idli?
Instant ragi idli is just like rava idli. Semolina or suji is soaked in yogurt and ragi flour is added to this mixture. There is no need for fermentation in this recipe, you can make it instantly.
Dry roast 1 cup semolina or suji until slightly browned. Remove onto a plate and cool completely. Add roasted semolina, 1 cup ragi flour, salt to taste, and 1 cup yogurt in a bowl and mix well. Cover and keep the bowl aside for 15 minutes. Add some water to get an idli-like batter consistency. Now make idli using this batter.
Serving Suggestions
Just like any other South Indian breakfast recipes, ragi idli goes well with sambar and coconut chutney. But, you can also serve with tomato chutney, ginger chutney, onion chutney, pudina chutney or even Idli Powder with a dollop of ghee or gingelly oil.
Storage Suggestions
Ragi idli taste best when they are fresh served right out of the steamer. You can store leftovers in an air-tight container and store them in the fridge for 2 to 3 days. Microwave them until nice and warm just before serving.
You can also freeze these in airtight containers for up to 3 months.
But, I recommend you to store the batter and make fresh Idlis. The batter will last in the fridge for up to 5 to 6 days if stored properly in an air-tight container.
Soft Ragi Idli Recipe - Finger Millet Idli | How to make Ragi Idli
Ingredients
- 1 Cup Ragi/Finger Millet
- 1 Cup Idli Rice or Any short grain rice or Parboiled Rice
- 1/2 Cup Whole Urad Dal
- 1/2 tsp Fenugreek Seeds
- 1/4 Cup Poha Flattened Rice
- 1 tsp Salt or as needed
- Water as needed
Instructions
Soaking, Grinding & Fermenting:
- Wash and soak Ragi, Rice and Whole Urad Dal separately or together for at least 8 hours. Soak Poha/Flattened Rice 1 to 2 hours before grinding.
- Drain out the all the water. Add to the mixer jar and grind everything together adding required salt & water. I’m using a mixer grinder to grind, you can also use a traditional wet grinder.
- Transfer batter to a large bowl and set it aside for 8hrs/overnight until it is well fermented & doubles up in volume.
Making Ragi Idli:
- Heat water in a idli vessel or steamer. Mix the fermented Ragi idli batter well and pour a ladle of batter into the greased idli moulds and place it inside the steamer or idli cooker.
- Steam cook for about 10 minutes or until a toothpick inserted in the centre of the idli comes out clean. Once done, cool down for 5 minutes. Sprinkle water and remove from the mould.
- Serve hot with sambar, chutney or any side dish of your choice.
Recipe Video
Notes
- Soak the grains (Rice, Ragi and Urad Dal) for longer (6 to 8 hours) or overnight for smooth idli batter, especially when using a mixer grinder.
- Make sure you keep the batter in a warm place for fermentation, covered & undisturbed.
- It is ideal to place a plate below the bowl or vessel as the fermented dough might spill and lead to wastage (as you can see in the step by step images in the post)
- You can avoid adding salt to the batter before fermentation if you live in a very warm place.
- In case you do not have Idli Rice, you can replace with any short grain rice variety like Sona Masuri or ponni rice. The result would be same.
- The batter stays fresh in the refrigerator for at least 4-5 days.
Check out other Breakfast Recipes from blog!!
MOST POPULAR BREAKFAST RECIPES ON BLOG:
Many more to come!!…..STAY TUNED!!
Hungry for more? Never miss a recipe!!…Subscribe to MasalaKorb and have posts delivered straight to your inbox! And connect with me on Facebook, Twitter, Instagram and Pinterest for all of the latest updates.
Did you make a recipe? Make sure to tag your photo with this hashtag: #masalakorb
Happy Cooking
Cheers!!
Padma.

