Best Badusha Recipe | How to prepare Badusha at home | Balushahi Sweet | Recipe For Making Badusha | Badusha or Badhusha recipe – Best Badusha recipe Step by Step with perfect measurements to prepare traditional sweet Badusha/Balushahi with flaky texture that has a crispy outer layer & juicy interior.
Editor’s note: This post was originally published in October 2016 and has been updated with Video and replaced with newly edited pictures for comprehensiveness and freshness.
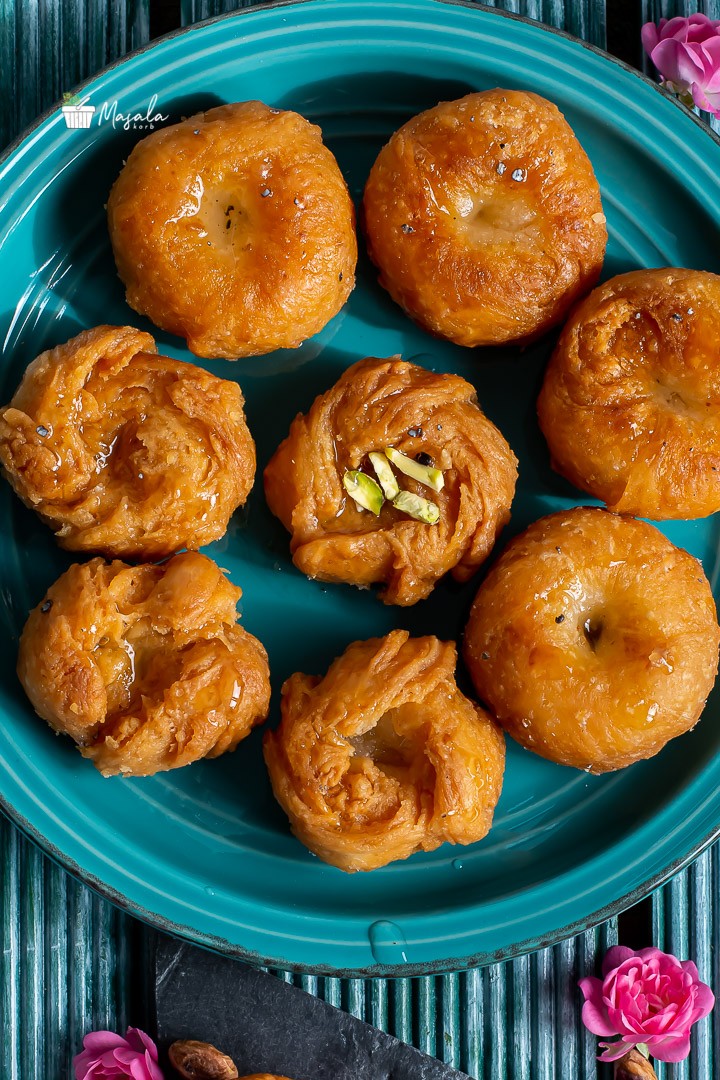
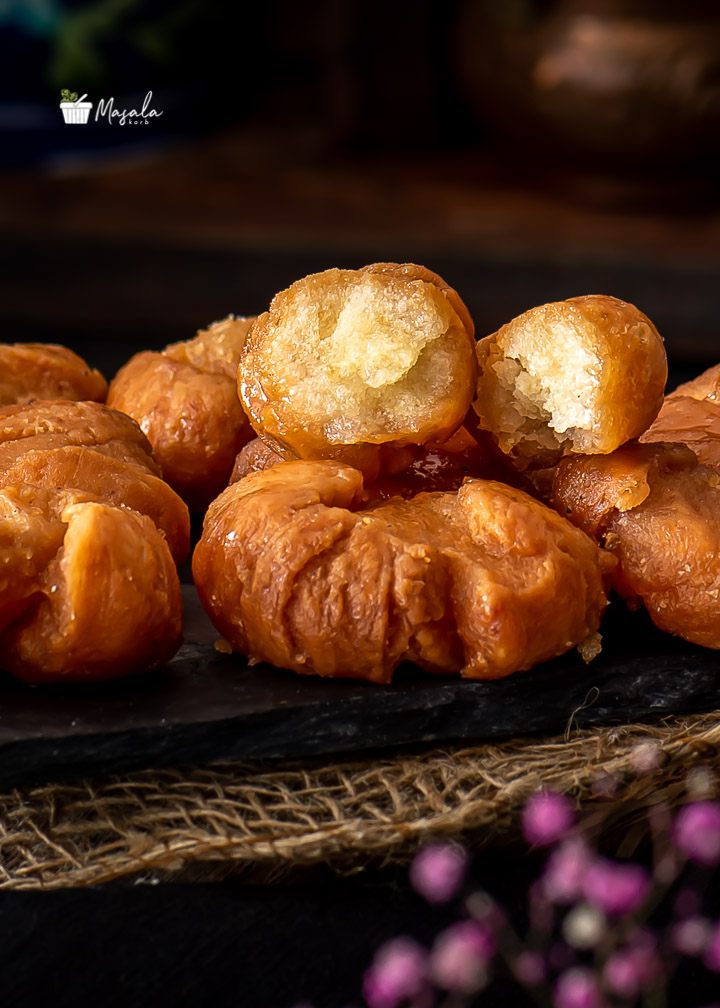
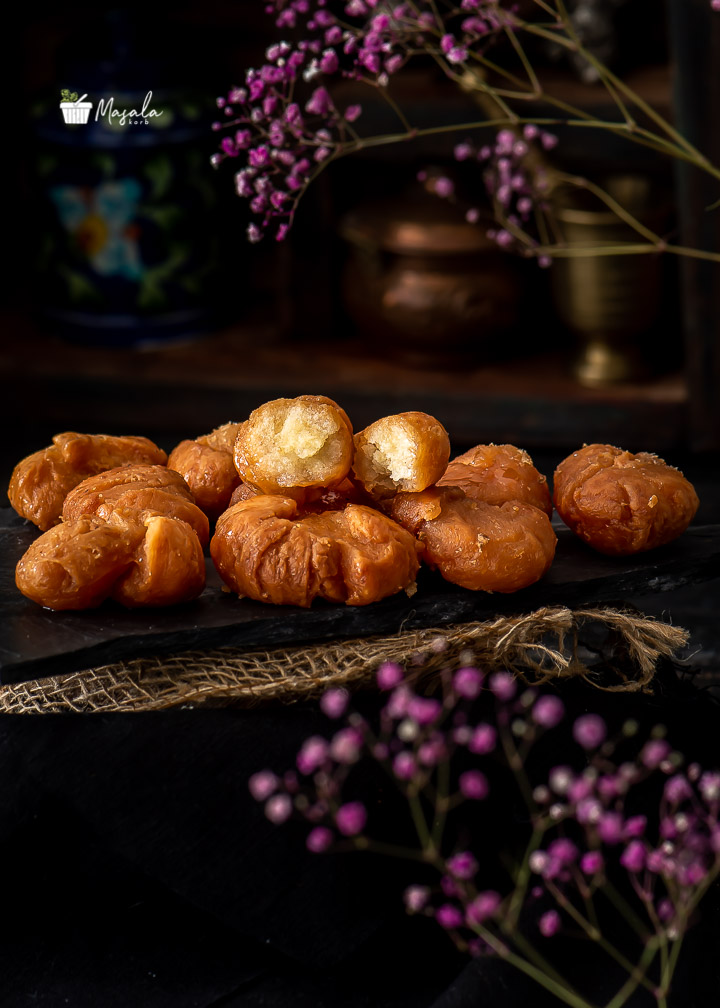
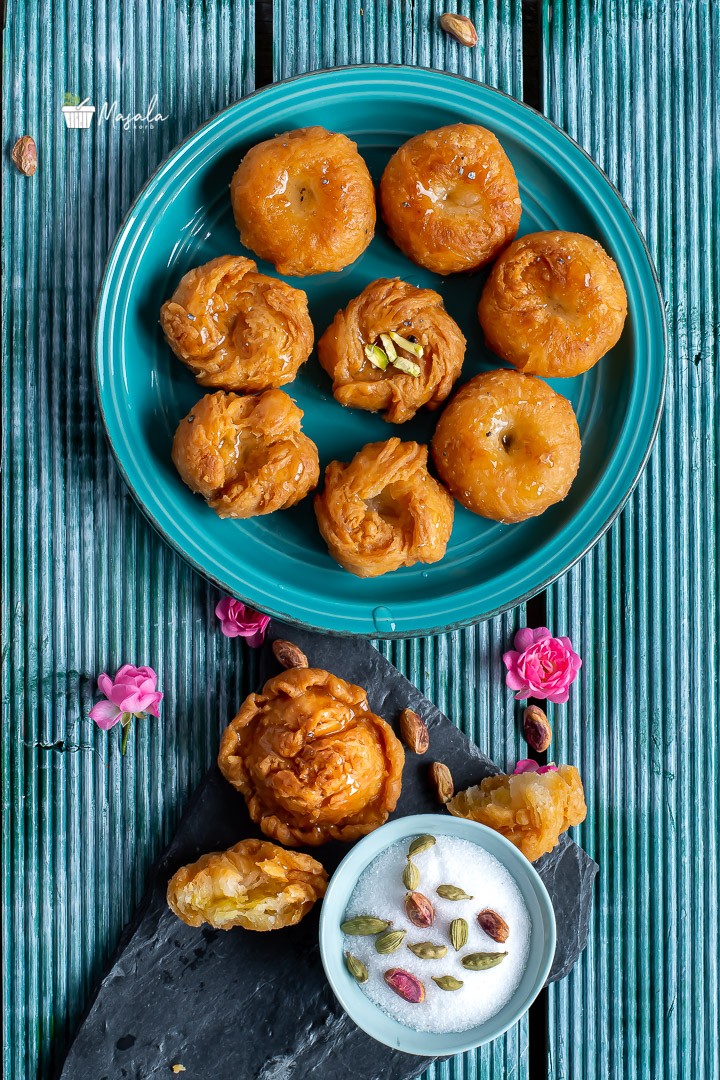 I’m here today to share the Best Badusha Recipe. It is a traditional sweet popularly known as Badusha in the South and Balushahi in the North of India, that is prepared for special occasions and festivals like Diwali. It has an amazing flaky texture with a crispy outer layer and a soft & juicy interior.
There is a reason why I dare to call this the Best Badusha Recipe. I was fortunate enough to see the making live, during a function back home in India. The professional cook showed some techniques to get them perfect. Since then, making Badusha was a breeze for me & there was no look back to get the perfect texture.
It is not really that intimidating as one thinks to prepare this delicacy. There are certain crucial steps like kneading the dough, making depressions in the flattened balls, preparing the sugar syrup to the right consistency and last but not the least, deep frying them over low heat. If you follow these steps to a ‘T’, you will definitely be successful and you will have your Best Badusha Recipe.
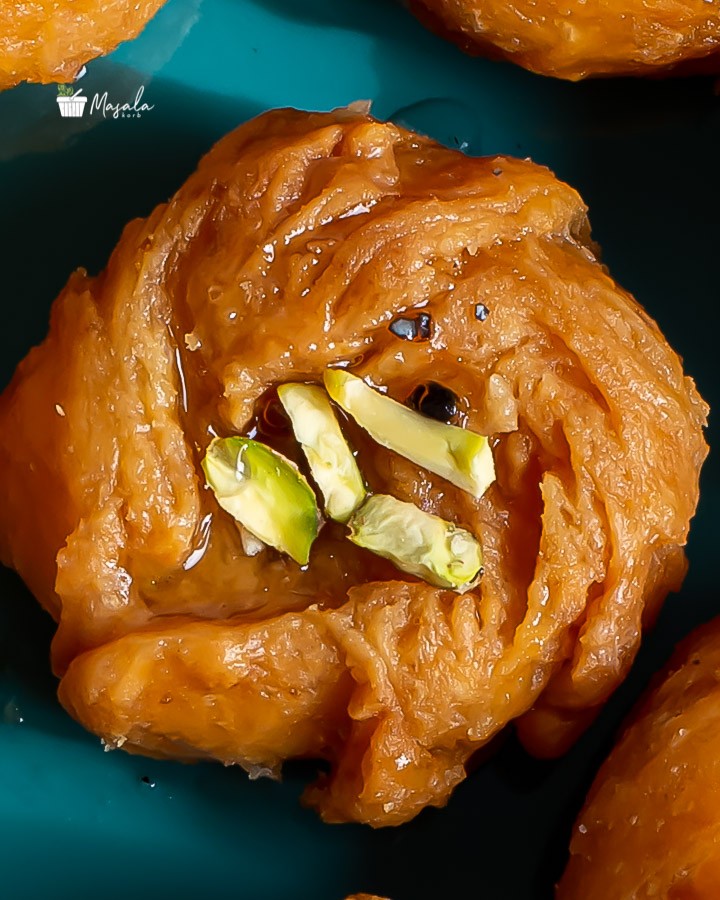
What is Badusha or Balushahi
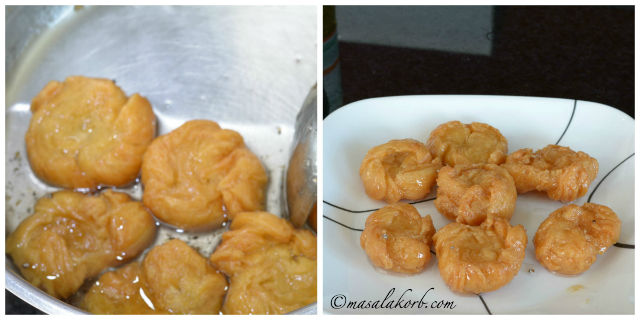
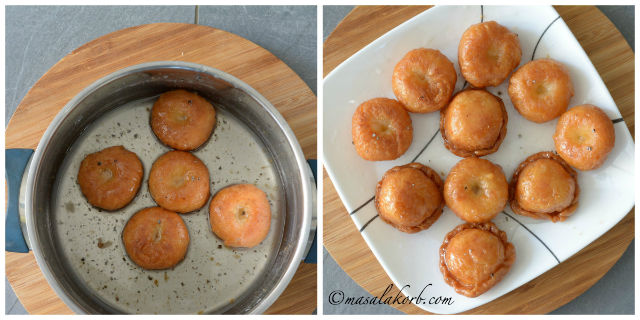
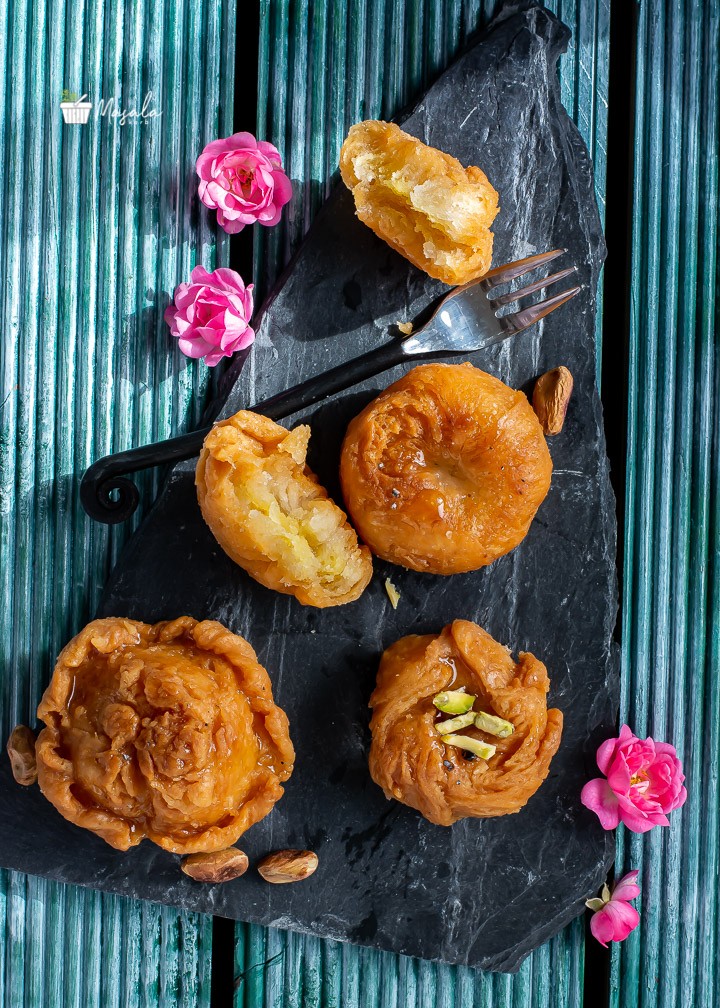
Small balls that are slightly flattened are shaped out of a dough consisting of all purpose flour (maida), melted butter or ghee (quite a bit, hence aka butter badusha), curd and a pinch of baking powder, deep fried to a golden shade and dunked in a warm sugar syrup. I also made a few corner pleated badushas in between and then lost patience for the rest…. So just made round badushas with the remaining dough.
It is the flaky texture of the Badusha which helps to absorb the sugar syrup when soaked into it and then glazes the top. When you bite into a badusha, your teeth first crackle their way into a crispy outer layer and then sink into a soft & juicy interior. Can there be anything more delicious than that?
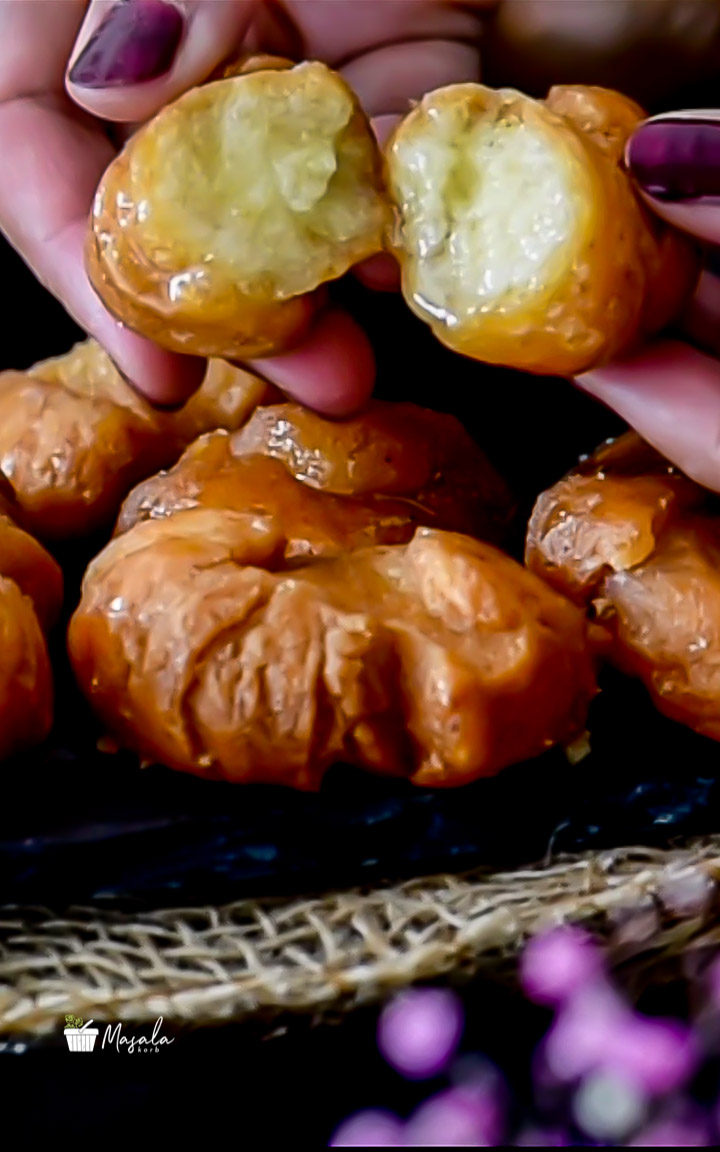
Would there be any reason to stop you from eating too many badushas? As it is a deep-fried sweet preparation, from the health and weight point of view, it is good to limit the intake of this mouth-watering delicacy. Other than this, perhaps there is no reason to stop you from indulging!!
With the Best Badusha Recipe that follows, you can prepare Badusha right in your kitchen and tailor this super delicious sweet to satisfy your Sweet Tooth.
Off to my version of the Best Badusha Recipe!!
Step by step process to follow for
Best Badusha Recipe
Preparing the Dough:
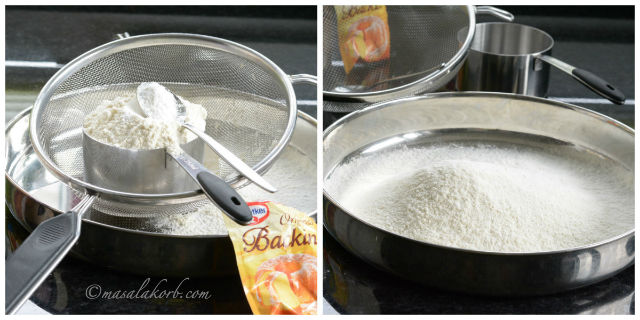
- To make the dough, sieve together the flour, salt and baking powder in a wide bowl.
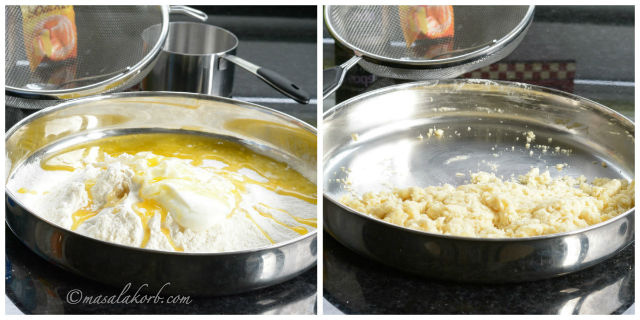
- Make a well in the centre and add the curd, melted butter and hot oil.
- Using your fingers, break the shortening into the flour until you have a fairly grainy mix that resembles bread crumbs.
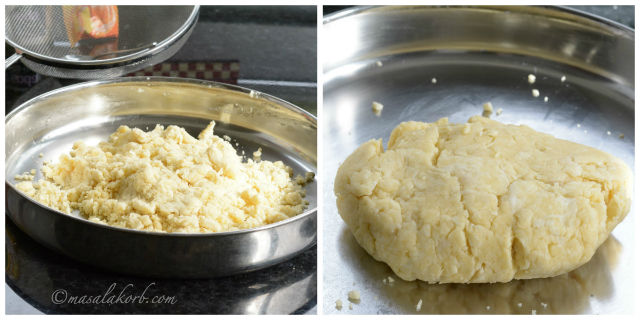
- Now slowly add little water and make a soft and pliable dough. At any point of time, do not knead it hard. Just bring together and combine together to form a dough.
- Leave aside covered for 15 to 20 minutes.
Making Sugar Syrup:
- In the mean time, you can prepare the sugar syrup.
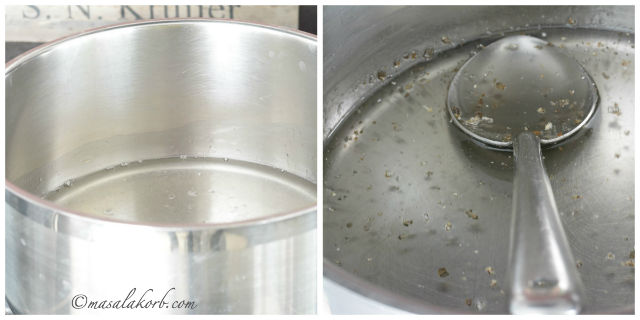
- In a stainless steel vessel, add sugar and water . Allow the sugar to dissolve on medium heat.
- Reduce flame to low, allow the sugar syrup to thicken lightly. The syrup should be sticky on touch and it should reach one string consistency. Turn off the heat and add lemon juice to prevent the syrup from crystallising.
- Add cardamom powder once the syrup cools down a bit.
Shaping Badusha: Trick for Flaky Badusha
- After the dough has rested, do not knead. Just flatten the dough on the working surface, cut into 2 halves, place one half above the other.
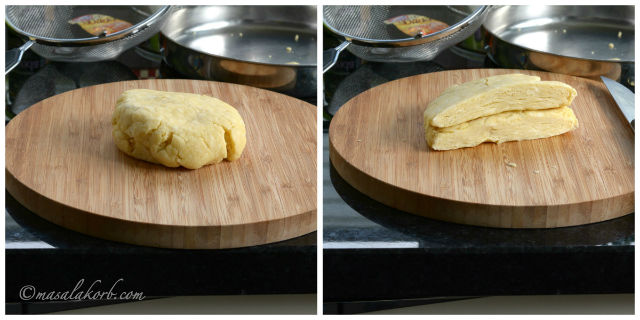
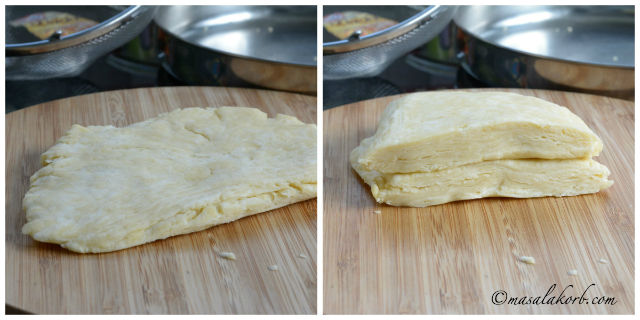
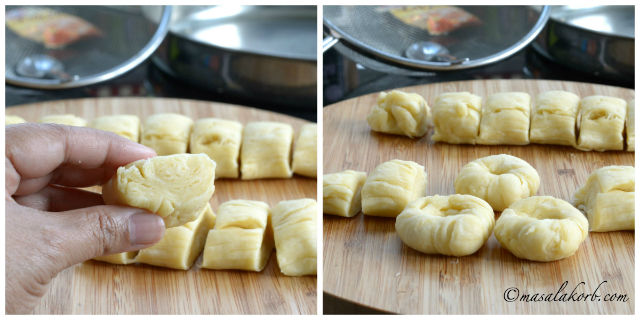
- Flatten again and cut into 2 halves and place one half above the other. Repeat this process 3 to 4 times to form layers as shown in the pic below.
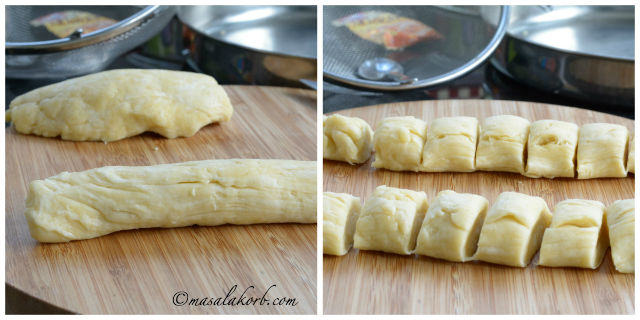
- Divide the dough into to 2 parts, form a log and divide into equal parts.
- Roll the ball between your palms in a circular motion to form a round shape without applying much pressure. You should be able to see the cracks on the dough.
- Flatten the balls lightly and make a depression in the centre using your thumb. Making the depression is crucial, so do not skip this step.
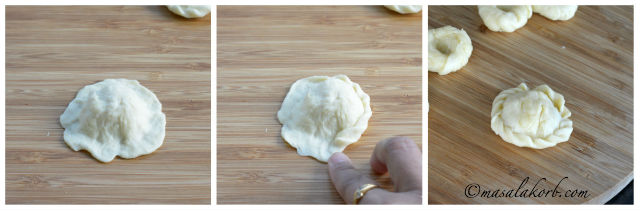
- You can also make another shape of the badusha similar to the ones shown in the picture below.
- Lightly flatten along the edge of the flattened ball using the tips of your forefinger and fold it inwards to form a pleated decorative rim….just like how you make for Kajjikayalu. Make a depression in the centre.
- But this might be slightly time consuming.
Deep-frying Badusha:
- Heat oil in a deep pan or kadai over medium heat till hot but not smoking hot.
- Add a small piece of dough into the oil and if it sizzles and comes to the surface, the oil is ready for deep frying.
- Turn off the heat and slowly slide in 4 to 5 badushas into the oil and allow them to rise to the surface of the oil.
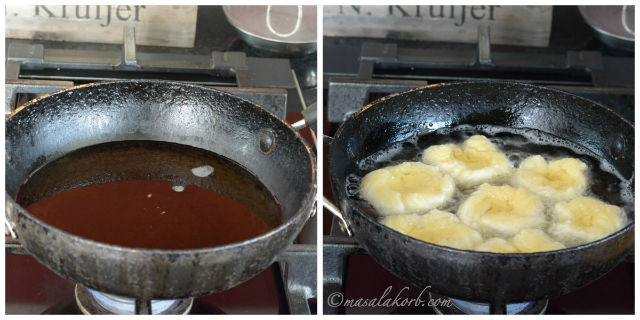
- Once the badushas surface to the top of the oil, they start puffing up and increase in size. Now, turn on the heat again & fry on medium low heat.
- Cook on both sides & fry until golden brown.
NOTE: The key to a good badusha is in the deep frying. The badushas have to cook slowly over low heat. Never rush through the process by trying to cook them on high heat, otherwise they will remain uncooked from inside. Do not overcook it to a darker golden shade.
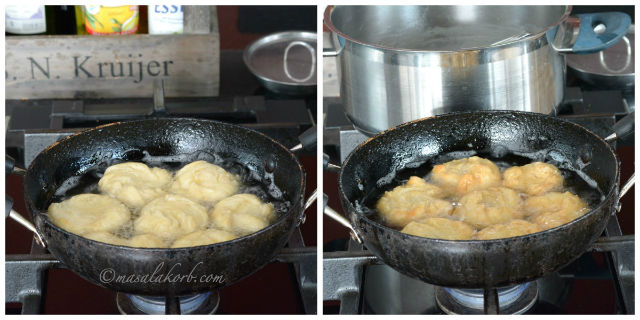
Soaking Badushas in Sugar Syrup:
- Remove the badushas from the oil using a slotted ladle on to an absorbent tissue paper.
- Then place them gently in the warm sugar syrup. Once the badusha sits in the syrup, use a ladle to push it to sink inside the syrup such that it is coated all over.
- Let them sit in the syrup till the next batch of frying is done. Keep flipping over to the badushas so that they absorb the syrup evenly.
- Once the next batch is ready, remove badushas from the syrup and place them on a plate.
- Allow to come to room temperature before storing.
- Store badushas in an airtight container. They stay fresh for at least 3 to 4 days at room temperature. You can refrigerate them for longer shelf life and just microwave for 30 seconds before serving.
- Warm Badusha tastes divine!!
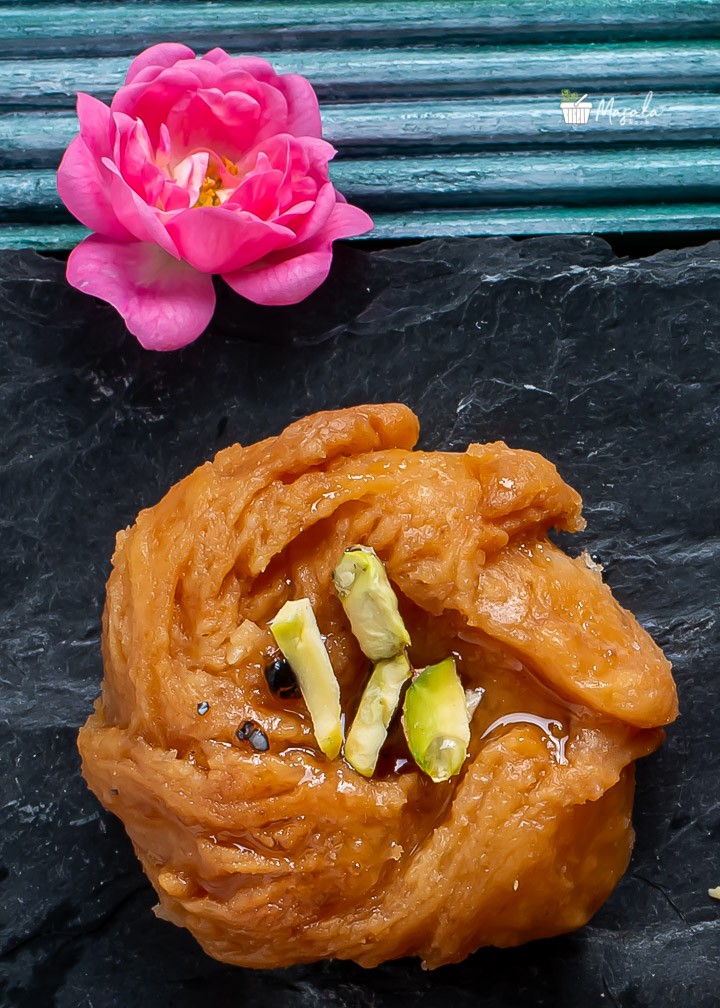
- Optionally, you can garnish with some chopped pistachios and serve.
Best Badusha Recipe | Balushahi Sweet | How to mak Badusha at home
Ingredients
- 1 Cup Maida all purpose flour
- 1/2 tsp Baking powder
- Pinch of Cooking Soda
- Pinch of Salt
- 1 tbsp Curd
- 1/4 Cup Butter/Ghee melted
- 1 tbsp Hot Oil
- Required Water
For Sugar Syrup:
- 1 Cup Sugar
- 1/2 Cup Water
- 1 tsp Lemon juice
- 1 tsp Cardamom Powder
For Deep Frying:
- Required Oil to Deep Fry
Instructions
Preparing Dough:
- Sieve together flour, salt, cooking soda and baking powder in a wide bowl.
- Add the curd, melted butter (ghee) and oil.
- Using your fingers mix until you have a grainy mix.
- Slowly add little water and make a soft and pliable dough.
- Leave aside covered for 20 minutes.
Making Sugar Syrup:
- Prepare the syrup of 1 string consistency and keep it warm.
- Add lemon juice and cardamom powder.
Shaping Badusha:
- Knead gently (see pictorial steps above).
- Divide the dough into small balls, roll in between palms, flatten the balls and make a depression in the centre using your thumb.
Deep-frying & Soaking Badusha:
- Heat oil in a deep pan over medium heat till hot.
- Once oil is hot enough, turn off the heat and slowly slide in 4 to 5 badushas.
- When the badushas rise up in the oil, turn on the heat again & fry.
- Cook on both sides, fry until golden brown. & remove from oil.
- Add them to the sugar syrup, soak for 5 minutes and remove to a plate.
- Store badushas in an air tight container. They stay fresh for at least 3 to 4 days at room temperature or refrigerate for longer shelf life.
Recipe Video
Notes
- At any point of time, do not knead the dough too hard. Just bring together and combine to form a dough without applying pressure.
- Turning off the heat while adding badushas into oil is the key to achieve that flaky texture.
- Sugar syrup must be of one string consistency.
- The sugar syrup on badusha will crystallize and become thick as badusha cools down. The trick to avoid this is to add the lemon juice to the syrup.
- Cook the badushas slowly over low heat to light brown colour. If you try to cook them on high heat, they will remain uncooked from inside.
- Do not overcook them to a darker golden shade.
- Never apply force while rolling the dough balls to get a smooth outer surface. I tried to make a few of the smooth version, but I must say that they did not absorb the sugar syrup completely. Deep inside, they were still dry.
Below are some popular Milk Sweets from Blog:
Do check out other DESSERT RECIPES and other collections from blog!!
- HOLI RECIPES
- FESTIVAL RECIPES
- DIWALI SWEET RECIPES
- DIWALI SNACKS
- 15 EASY DIWALI SWEETS
- DIWALI FESTIVAL RECIPES
And many more to come!!…..Stay Tuned!!
Hungry for more? Never miss a recipe!!…Subscribe to MasalaKorb and have posts delivered straight to your inbox! And connect with me on Facebook, Google, Twitter, Instagram and Pinterest for all of the latest updates.
Do subscribe to my YouTube Channel for latest video alerts!!
Did you make a recipe? Make sure to tag your photo with this hashtag: #masalakorb
Happy Cooking 
Cheers!!
Padma.
