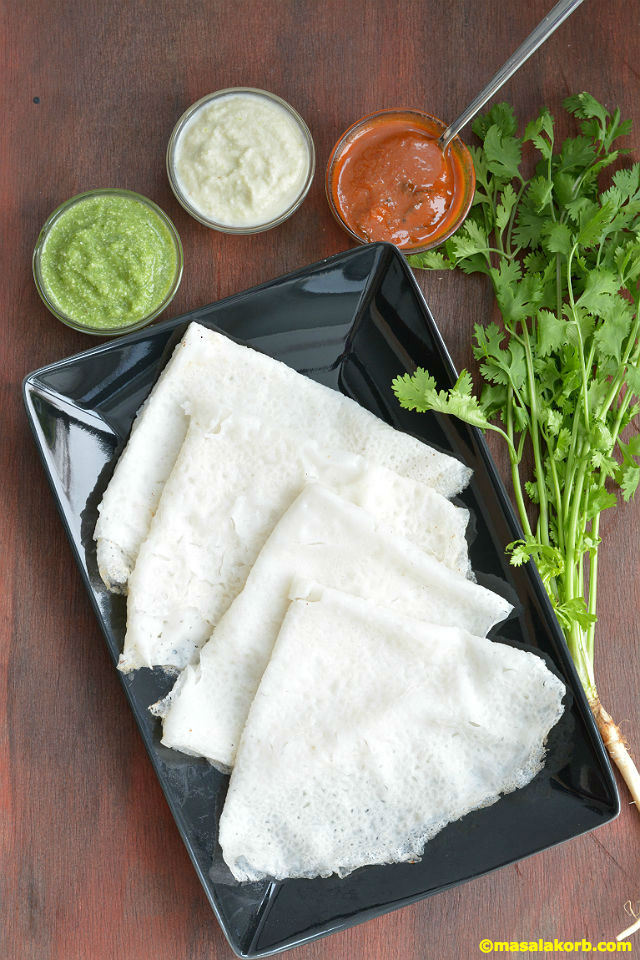
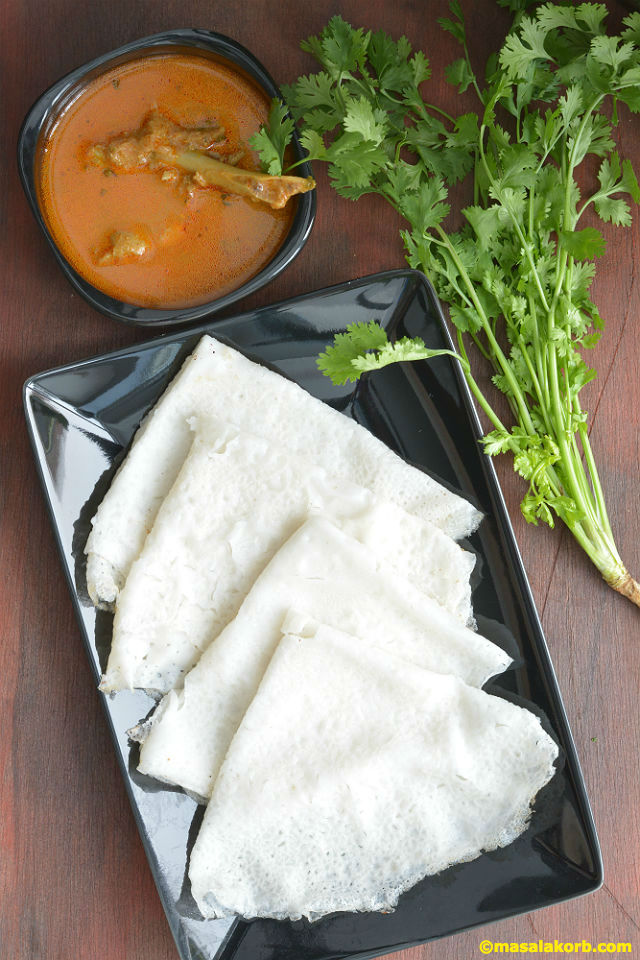
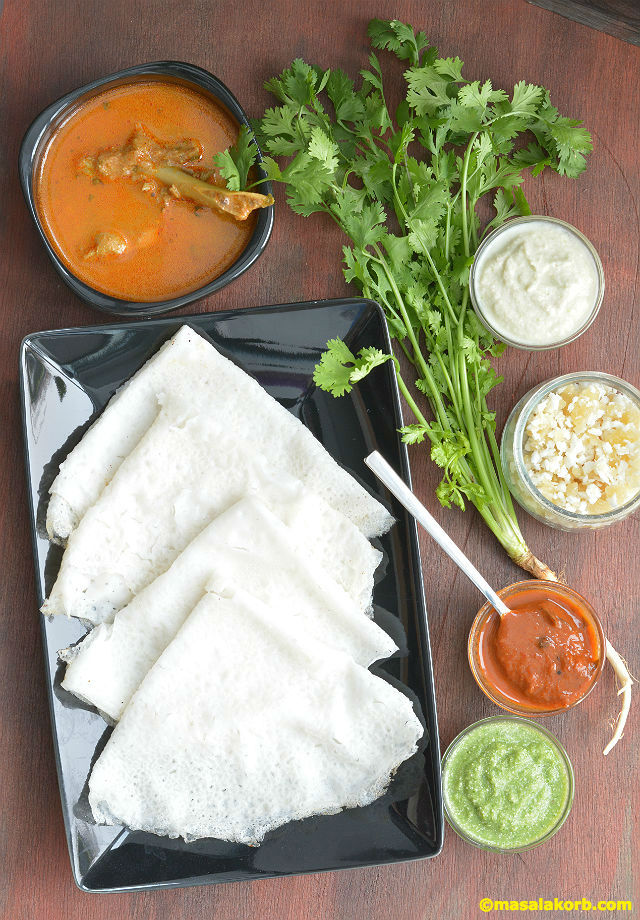
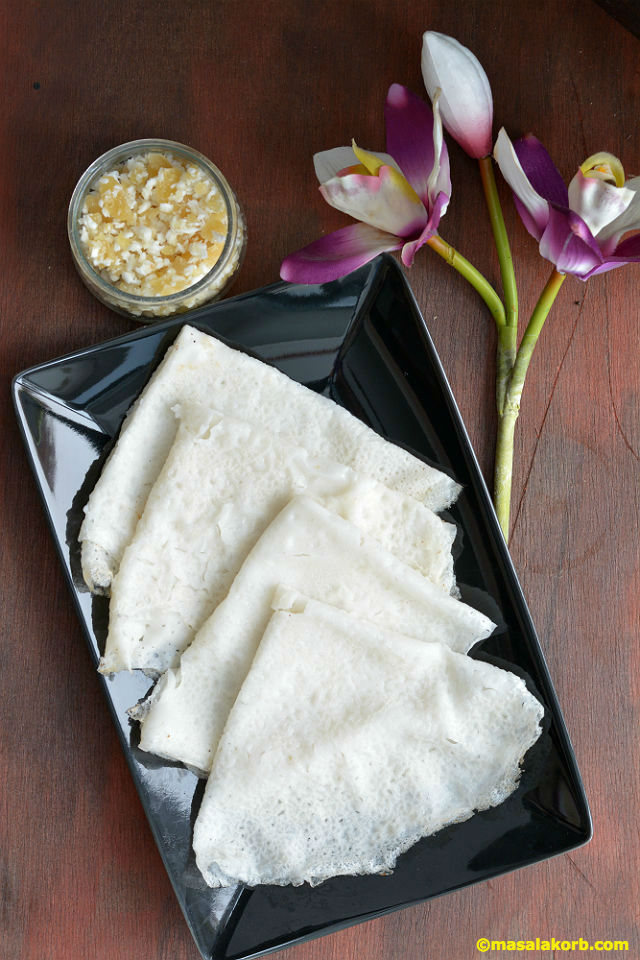
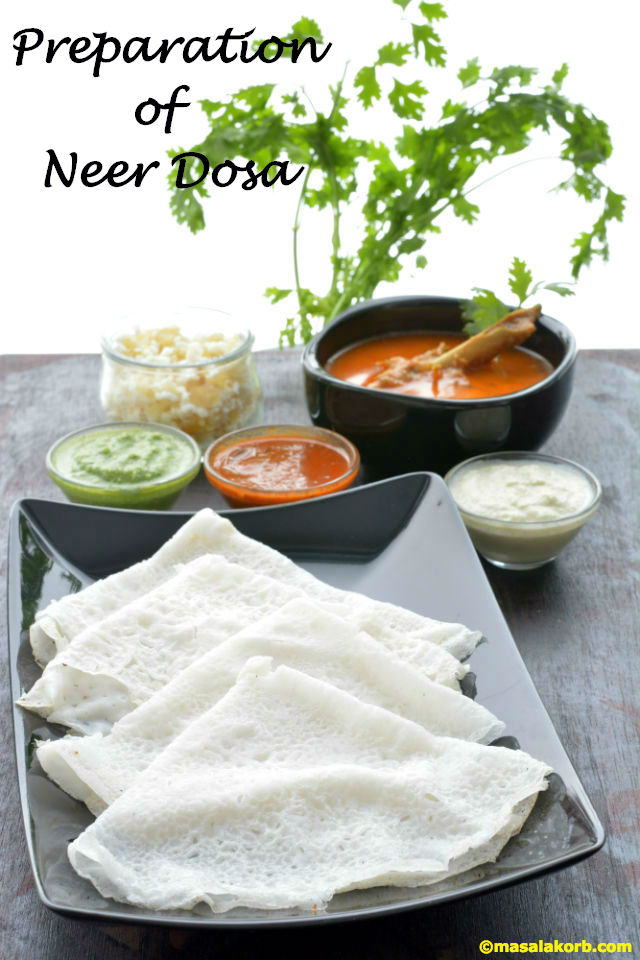
 Preparation of Neer Dosa is almost like making instant dosas, as they require no fermentation. So, you can have it whenever you are in a mood for it. How about having these snow white, light, lacy, paper thin crepes on a snowy day? Yes it’s been snowing here for the past 3 days and it’s all white!! Neer dosa is a very popular Karnataka breakfast fare, which literally means ‘water crepe’ since the batter is of flowing watery consistency. This is a dish made out of rice and is unique to the region of South Karnataka and Udipi district. ‘Neer’ in Kannada and Tulu language translates to water.
Neer dosa is also known as paan polo or soyi polo in the konkan region of India. The uniqueness of the dosa is its simplicity with respect to the ingredients used, which is only rice and can be made in a jiffy for healthy breakfasts. When you want to make Dosa during winters when fermentation is an issue, this recipe of Neer Dosa works really well.
Traditionally Preparation of Neer Dosa is done using a cast iron skillet and people say it tastes best when prepared in this skillet. But preparing them in these skillets needs some experience. It is also time consuming as cooking time is more and it becomes a mess. I make it in a non-stick pan and it’s hassle free!!
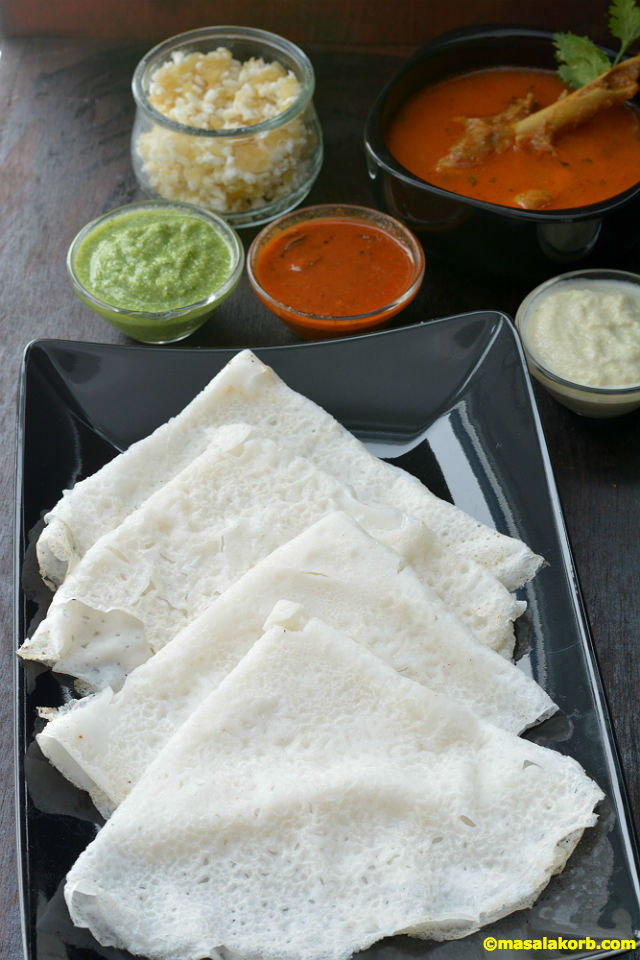
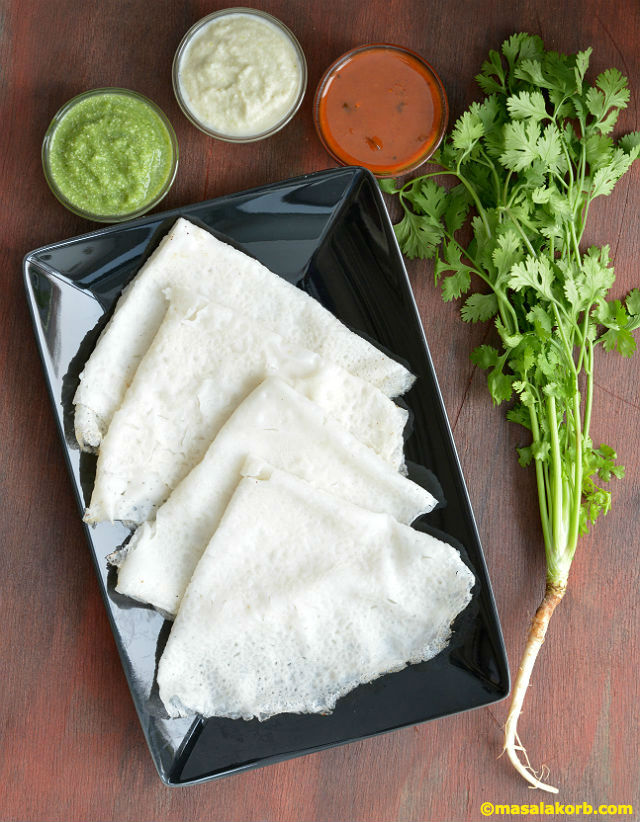
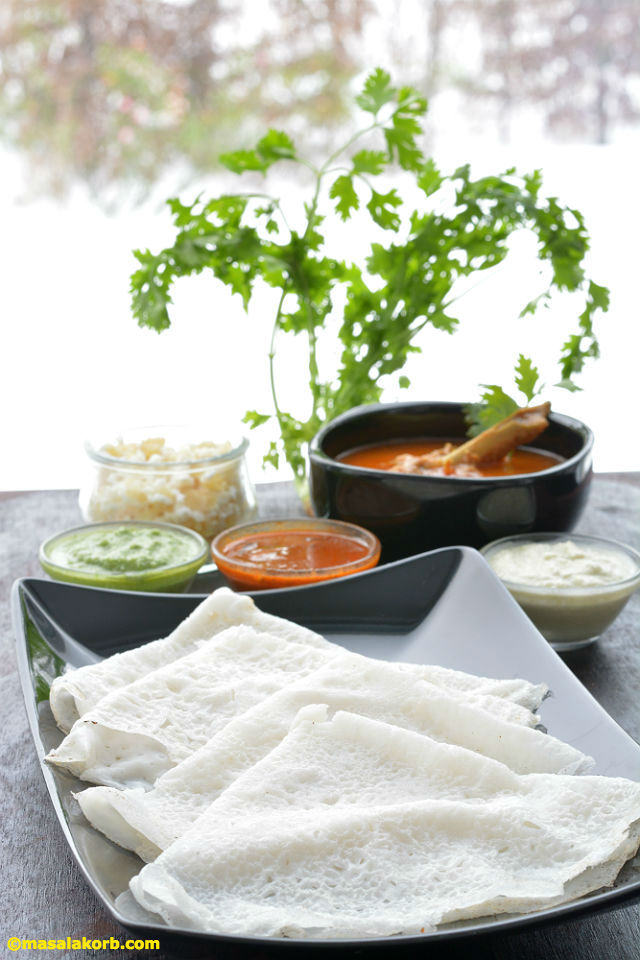
The texture is smooth and very soft, they melt in your mouth. Even kids enjoy this Neer Dosa. They look like these cute folded lace handkerchiefs. Unlike regular dosas, you will need to indulge on more number of dosas to fill your tummy and you loose your count in the process.
The vegetarians enjoy Neer dosa with spicy tomato chutney or coconut chutney, saagu, sambar, rasayana (mango with coconut milk) or a sweet mixture of jaggery and fresh coconut. The non-vegetarians enjoy it with chicken curry, mutton curry, fish curry or egg curry. They can be enjoyed even after they turn cold, so it works best as an option for lunch box.
You can make this Dosa with any rice. I use Sona masuri rice to prepare Neer Dosa. To make Neer Dosa more healthy you can make it with brown rice . Use good quality rice or fresh rice flour to get dosas without cracks. Adding a little cooked rice or leftover rice while grinding the batter will also avoid the cracks.
I don’t think there is any delicacy that comes close to this Neer dosa , as it is the only one ingredient recipe I know which can never fail to attract dosa lovers. I have listed a few tips for the Preparation of Neer Dosa.
You can never go wrong in the Preparation of Neer Dosa if you master the technique with some practice.
Steps in the Preparation of Neer Dosa:
Preparation of Neer Dosa involves 2 simple steps.
- Preparing the batter
- Making dosas
1.Preparing the batter for the Preparation of Neer Dosa:
- Wash and soak rice for 2 to 4 hours or even overnight is better. The longer you soak the rice, softer the dosas will turn out.
- Now drain all the water and grind the rice along with grated coconut and salt into a very smooth paste adding water little by little.
- Transfer the batter into a vessel. Add one cup of water and mix well. Check and adjust salt.
- The consistency of the batter should be watery. It should be slightly thicker than milk. If the batter is thick you’ll have thick dosas instead of paper like thin dosas.
Tips to make perfect batter for the Preparation of Neer Dosa:
- The batter must be very smooth to get perfect dosas. Smoother the batter, the better dosas you can make, or else the dosas tend to break.
- The consistency of the batter should be watery. It should be slightly thicker than milk. If the batter is thick you’ll have thick dosas instead of paper like thin dosas.
- In case you are making neer dosas for the first time, I would suggest you keep the batter slightly on the thicker side and make dosas. Once you master the art of making these dosas, you can make watery batter to make soft, thin neer dosas.
- Again, make sure not to make neer dosa batter too watery, then the batter will tend to stick to your frying pan and the dosas won’t come off as a whole. The dosas will then tear off as you try to remove them off the frying pan.
- Getting the right consistency of the dosa batter to make perfect neer dosa is something you’ll have to experiment depending on the frying pan you use, your ability to splash dosas and based on your liking for thin or thick neer dosas.
- For an expert with the right frying pan, a buttermilk consistency to your batter is what is necessary to make neer dosas.

2. Preparation of Neer Dosa:
- Heat up a non-stick pan on high heat. If you are using an iron skillet, then grease it will oil every time you make dosas. You can rub the pan with piece of onion (cut the onion and use one half). You can use the same onion to rub every time before making the dosa.
- If using a non-stick pan then you need not grease your pan. I always use a non-stick pan.

- Sprinkle few drops of cold water on the hot pan, if the water sizzles then the pan is hot enough.
- Once the pan is rolling hot, lower the heat, splash the batter using a ladle onto the frying pan. Hold the handle of the pan, start swirling the pan so that the batter spreads evenly through out the pan. It is very important to mix the batter well each time you make dosa.
- If you try to fill gaps and splash extra batter onto your pan, then you’ll have relatively thick dosas.
- Place a lid over the pan and cook them on medium to high heat for approximately 30 seconds.
- Remove the lid and check if the dosa is cooked all around. If not let the dosa cook completely without the lid on for some more time.
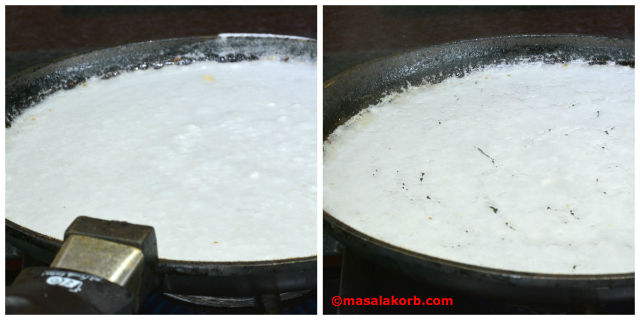
- There is no need to flip the dosa to cook it on the other side. You do not add oil onto the dosas when they are frying on the pan unlike we do for other dosas.
- Once the dosa is completely cooked, you will know it from the change in colour of the dosa. The dosa changes from pure white to off white completely. The dosa remains white on cooking and will not brown. However they do tend to get crisp, so never overcook the dosa unless you like your neer dosas crisp. If the dosa looks raw in any part of the pan, give it a minute. Once the whole dosa changes in colour, slide a flat spatula from the sides of the pan and work your way throughout under the dosa.
- If you are using a non-stick pan, once your dosa is completely cooked it starts to come off the pan on the sides of the frying pan. That’s an indication to remove the dosa if its cooked completely all around.
- Fold the dosa in half on the frying pan and again fold it into half like a handkerchief to form a triangle. Then remove the dosa off the frying pan.
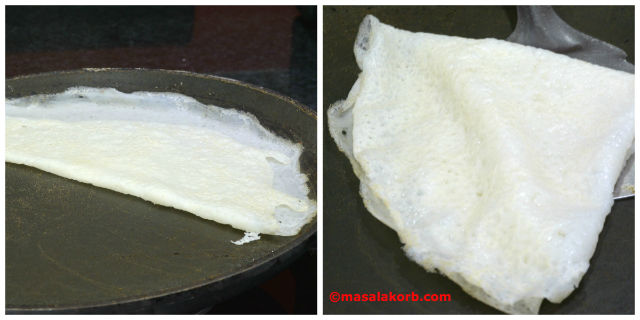
- Do not stack the dosas when hot, they will stick to each other.
- Serve the dosas hot with sides of your choice.
- I have served with coconut onion chutney, coriander chutney, ginger chutney, coconut jaggery mixture and a chicken curry.
Summary of important tips in the Preparation of Neer Dosa:
- Don’t be intimidated by the long list in the Preparation of Neer Dosa. This is just to help you get perfect dosas.
- It is important to grind the batter in to a smooth paste by adding water little by little. Do not add a lot of water at once because the rice will not ground smoothly in that case. When you touch the batter between your fingers, it should be completely smooth.
- The batter consistency should be watery, thin and flowing. the batter should not be thick.
- Thick batter will also give rise to cracks in the dosa.
- If the batter becomes very thin, then the dosas will fall flat and break while lifting. In this case, add some rice flour to slightly thicken the batter.
- Heat the pan or tawa very well before you pour the batter. The temperature of the pan is equally important. If the pan is not heated enough, then the dosa will crack. Do the sprinkle test.
- If the heat is right, as soon as your pour the batter, you will start seeing holes appear on the surface of the dosas.
- Before making each neer dosa, stir the batter very well with the ladle. The thicker batter tends to settle tot he bottom while the water remains of the surface.
- The pan should be well seasoned/greased, otherwise the dosas will stick to the pan.
- I have used sona masoori rice in the Preparation of Neer Dosa, basically use a well aged rice.
- It is advisable to soak the rice for at least 4-6 hours or overnight, longer you soak softer are the dosas.
- You can also add some cooked rice while grinding the batter. This also yields soft dosas.
- Once the dosas are done, then don’t stack them up while they are hot as they stick to each other. Stack them up once they cool down.
Preparation of Neer Dosa | Mangalorean Neer Dosa Recipe
Ingredients
- 1 cup Raw rice I have used Sona Masoori rice
- ½ cup grated coconut
- Salt to taste
- Required oil to grease the pan
Instructions
- Preparing the batter:
- Wash and soak rice for 2 to 4 hours or even overnight is better. The longer you soak the rice, softer the dosas will turn out.
- Now drain all the water and grind the rice along with grated coconut and salt into a very smooth paste adding water little by little.
- The batter must be very smooth to get perfect dosas. Smoother the batter, the better dosas you can make, or else the dosas tend to break.
- Transfer the batter into a vessel. Add one cup of water and mix well. Check and adjust salt.
- The consistency of the batter should be watery. It should be slightly thicker than milk. If the batter is thick you’ll have thick dosas instead of paper like thin dosas.
- Preparation of Neer Dosa:
- Heat up a non-stick pan on high heat. If you are using an iron skillet, then grease it will oil every time you make dosas. You can rub the pan with piece of onion (cut the onion and use one half). You can use the same onion to rub every time before making the dosa.
- If using a non-stick pan then you need not grease your pan. I always use a non-stick pan.
- Sprinkle few drops of cold water on the hot pan, if the water sizzles then the pan is hot enough.
- Once the pan is rolling hot, lower the heat, splash the batter using a ladle onto the frying pan. Hold the handle of the pan, start swirling the pan so that the batter spreads evenly through out the pan. It is very important to mix the batter well each time you make dosa.
- Place a lid over the pan and cook them on medium to high heat for approximately 30 seconds.
- Remove the lid and check if the dosa is cooked all around. If not let the dosa cook completely without the lid on for some more time.
- There is no need to flip the dosa to cook it on the other side. You do not add oil onto the dosas when they are frying on the pan unlike we do for other dosas.
- Once the dosa is completely cooked, you will know it from the change in colour of the dosa. The dosa changes from pure white to off white completely.
- Once the whole dosa changes in colour, slide a flat spatula from the sides of the pan and work your way throughout under the dosa.
- If you are using a non-stick pan, once your dosa is completely cooked it starts to come off the pan on the sides of the frying pan. That's an indication to remove the dosa if its cooked completely all around.
- Fold the dosa in half on the frying pan and again fold it into half like a handkerchief to form a triangle. Then remove the dosa off the frying pan.
- Do not stack the dosas when hot, they will stick to each other.
- Serve the dosas hot with sides of your choice.
Notes
If you have refrigerated the batter, bring it to room temperature and mix really well before preparing neer dosas.
2. If your bored of neer dosas and have plenty of leftover batter, then you can make cucumber dosas called as thousali out of neer dosa batter by just adding peeled, grated cucumber to the batter.
3. Each time you make neer dosa, ensure that you mix the batter well before pouring it onto the pan.
4. The more coconut you add to the batter, more softer neer dosas you make.
5. Check Tips section for more points.
Happy Cooking 🙂
Cheers!!
Padma.

