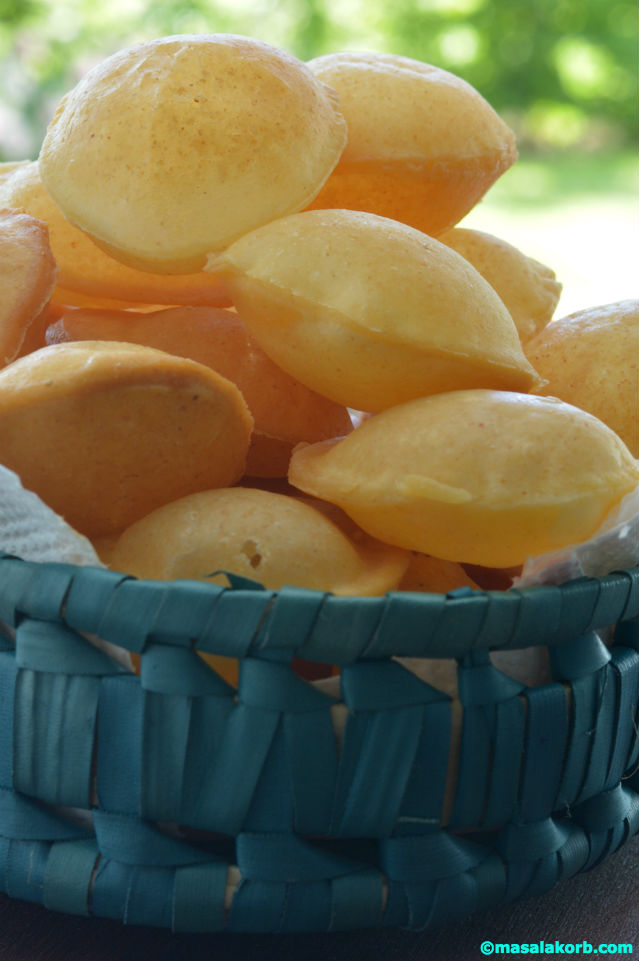
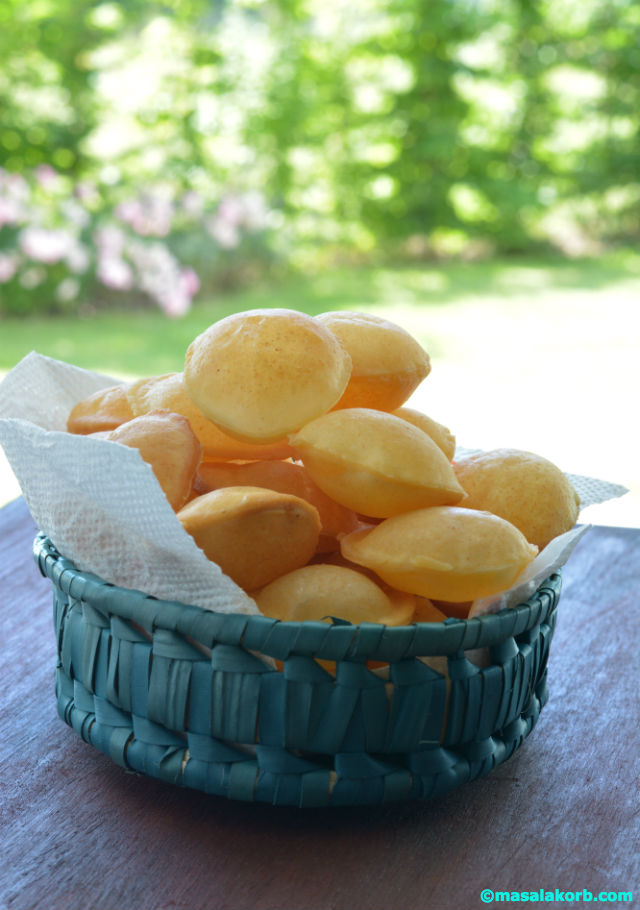
 Time for another round of Blog Hop and the theme for this week is everybody’s all time favourite “CHAAT RECIPES”. Chaat is a very popular Indian snack made mainly of crisp deep fried Indian bread in combination with fresh veggies and a variety of sweet and sour Indian chutneys. The word, “chaat”, is a Hindi translation of the English word tasting. The parent word from which the dish name has been derived is ‘chaatna’, meaning to lick in English. My first pick for the theme is PANI PURI OR GOLGAPPA. I tried hard to fit into a single post but it was getting too lengthy, so I finally decided to split and PURI RECIPE FOR PANI PURI is my first share.
The street food so popular in India and Pakistan provides an irresistible combination of flavours, textures and aromas. The concept of serving chaat as a delectable snack or side dish originated in Uttar Pradesh. However, owing to its spicy and relishing flavour, the entire India and later South Asia replicated the concept of classic chaat recipe to produce their own variations. Years after the origin, a cultural syncretism was observed with the invention of varied dishes of chaat in different parts of the country, reflecting their culture influences and eating preferences.
Chaat is unbelievably easy to prepare provided the ingredients are available in the usable form and also quick to digest. Nevertheless, preparation of an authentic chaat recipe simply requires the manual mix of all the ingredients together without any need to cook them further and of course last but not the least, with an adequate dash of chaat masala.
Source for some of the information is Wikipedia.
In India, the hustle and bustle of the street adds a special atmosphere to the chaat experience. Pani Puri is traditionally served in a dried leaf formed into the shape of a bowl. This form of serving is especially observed in dhabas, Mumbai beachside, roadside or street shops of Delhi, Hyderabad and Bihar. However, even when chaat is delivered via platter to a white-tablecloth in a restaurant, a single bite can capture the complexities and traditions of food and culture. Ingredients like chaat masala, yoghurt, tamarind sauce may be served separately along with the dish.
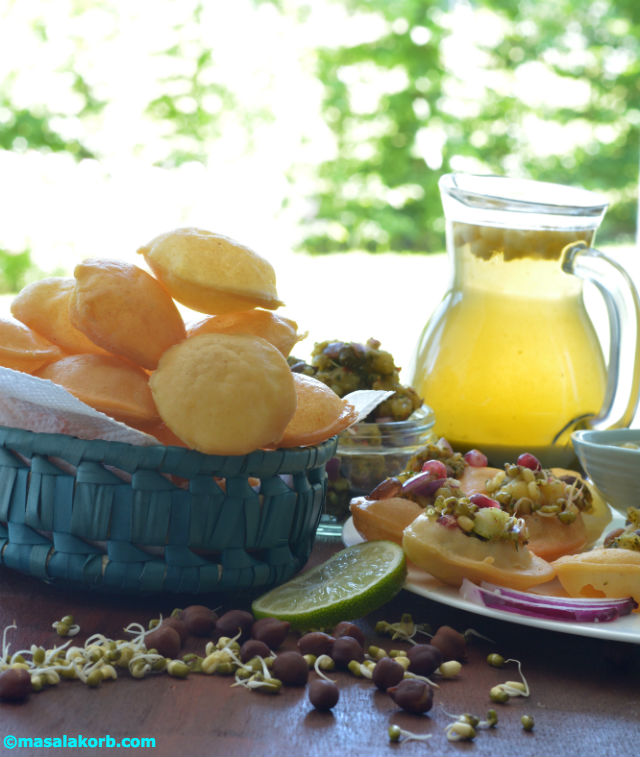
Among the more popular chaats, there is pani puri, a small cup like vessel made with semolina flour and filled with chickpeas, diced potatoes and spiced water. Bhel puri is composed of puffed rice, puffed lentils and chickpea-flour vermicelli or sev, perhaps topped with tomato, onion and a yogurt-based mint or coriander chutney and a sweet tamarind chutney, then seasoned with a special chaat masala. It can be formed into a large bite-size cake or served simply in a heap. Samosa chaat is a triangular potato or vegetable stuffed pastry that has been cut into pieces, surrounded with chickpeas and seasoned with chaat masala, yogurt sauce and a drizzle of chutney. The list can go on and on!!
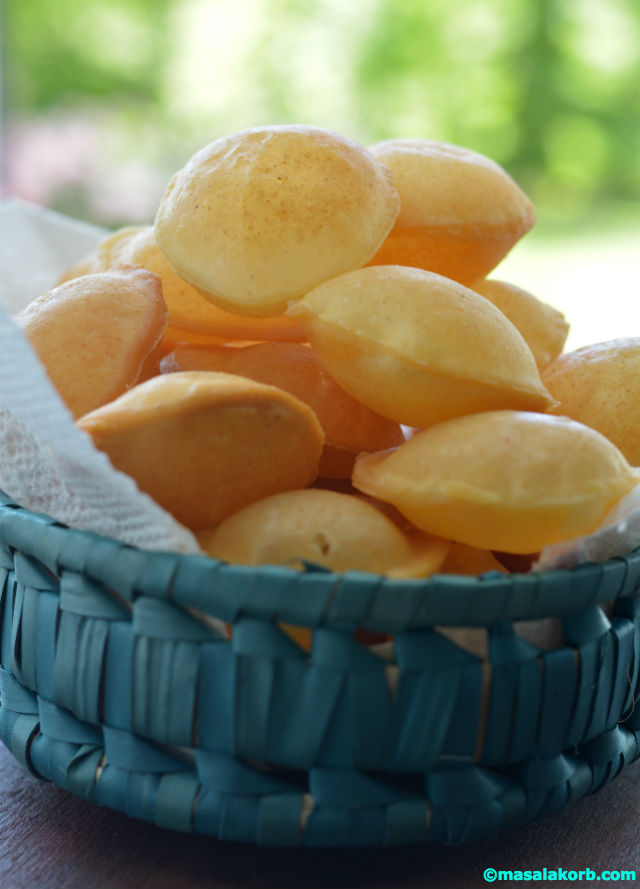
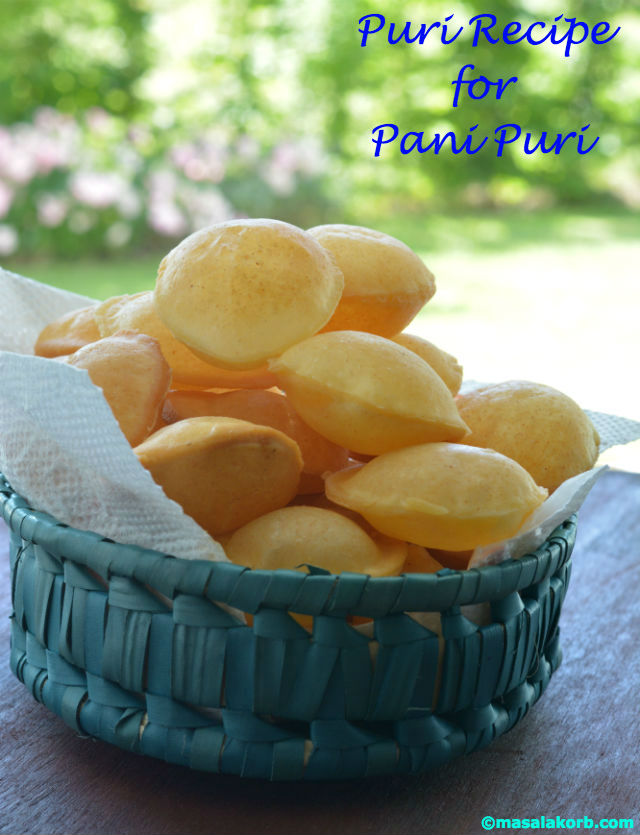
Puri Recipe for Pani Puri is very easy once you master the technique to make the puris. I must say it’s also easier to get a packet of ready made puris than to make them. It does take an effort to make these puris. So prepare them only when you have free time but the perks of making puris at home with fresh oil and ingredients is all together a different experience . No additives or preservatives are added and you know what goes into them. And they do always taste better than the store brought ones. But it’s quite an effort!!……..No pain No gain!!![]()
Off to Puri Recipe For Pani Puri!!
Step-by-Step process for the Puri Recipe for Pani Puri:
Puri Recipe For Pani Puri involves mainly three steps-
- Kneading the dough for puris
- Making the puris
- Deep-frying the puris in oil
1. Kneading the dough for the Puri Recipe For Pani Puri:
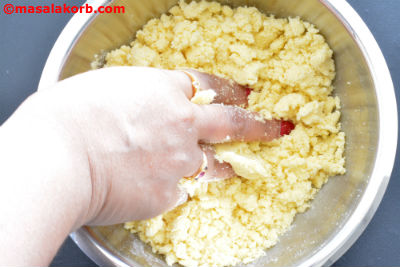
- In a mixing bowl, add one cup fine un roasted semolina (Sooji/Rava), 1/8 teaspoon baking soda, ¼ teaspoon salt and 1 Tablespoon of all purpose flour (maida).
- Mix all the dry ingredients evenly using your fingers.
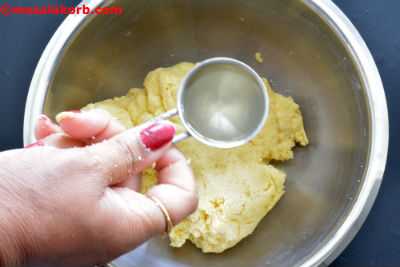
- Now start adding lukewarm water (microwave water for 15 seconds and use) in parts and begin to knead the dough.
- First add 3 Tablespoons of water and knead well. Semolina absorbs water while kneading. For me it took about 6 Tablespoons of water.
- This is a very important step in getting the perfect texture for the puris. The dough shouldn’t be too soft or too hard. In case you add a little more water by mistake then just correct it by adding 1 to 2 teaspoons of semolina. Knead for about 4 to 5 minutes.
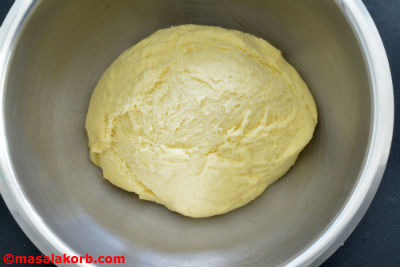
- Now add one teaspoon of oil and knead for another 4 to 5 minute till the dough turns elastic and forms gluten strands, which is what gives the texture of the puris and also helps in puffing up and staying crisp.
- Knead to a semi soft elastic dough which is is crucial step in this recipe.
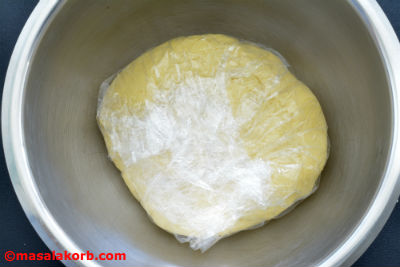
- Cover the dough with a moist kitchen towel or a foil and let the dough rest for at least 30 minutes.
2. Rolling the dough to make Puris:
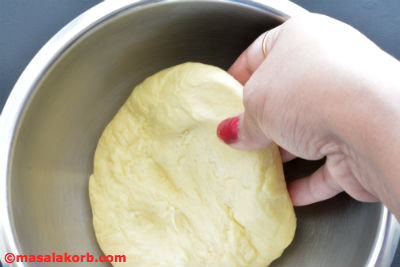
- The dough looks like this after 30 minutes. It’s quite soft and elastic.
- Knead the dough again for a minute and divide the dough into 2 to 3 parts depending on the workspace you have to roll the dough.
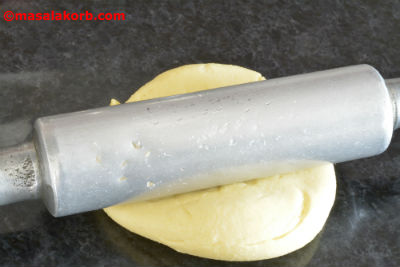
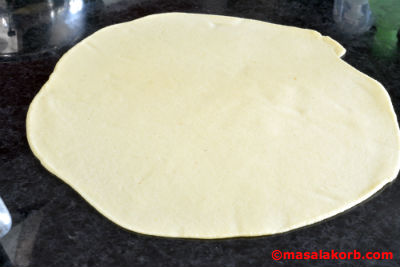
- Put a drop of oil and roll to a large round with out any cracks. Basically you should be able to flip the entire rolled dough without tearing apart.
- Continue to roll to a thin and even round. If it is not rolled thin then the base of the puris become thick and remains soft even after frying. If not rolled evenly then the puris will not puff up.
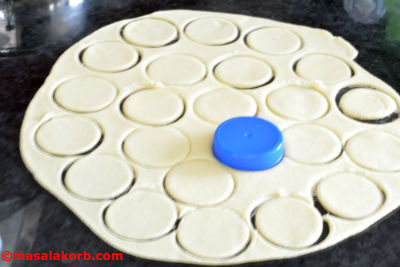
- Use a cookie cutter or a small lid as I have done and cut into small to medium discs so that they fit into your mouth.
- Alternatively you can make small balls and put a few ball on a roti press and press them hard. But I prefer the cookie cutter method.
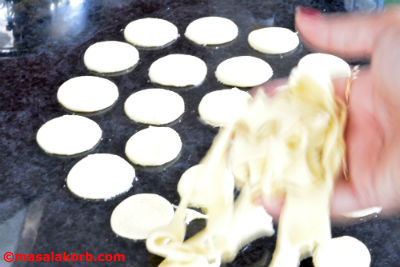
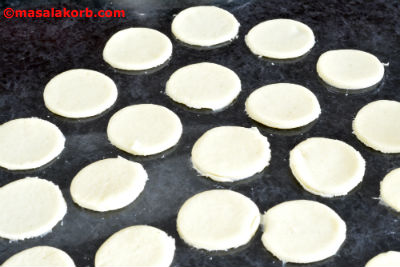
- Now remove the dough edges surrounding the small circles and place them on a plate or on the counter if there is enough space without touching to each other.
- If it’s going to take a while to fry the puris, cover them with a moist towel.
- Roll the rest of the dough till done.
- You can also fry them simultaneously like how I have done but if you are doing for the first time, take your time and don’t rush!!
3. Deep-frying puris in oil:
- Heat oil over medium heat for deep-frying in a pan. Once the oil is hot enough drop a small dough ball to check if the oil is ready. If the ball comes up to the surface, the oil is ready to fry the puris.
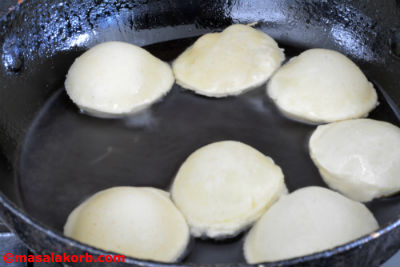
- Slide a few puris in the oil (5 to 8 depending on the size of the pan). The puris will puff up as soon as you drop them into oil. Press them with the slotted spoon so that they puff up.
- The oil shouldn’t be too hot now otherwise puris will become soft. Reduce the heat a little bit once the puris puff up.
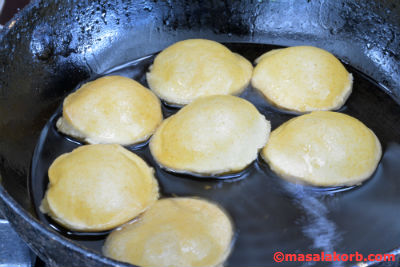
- Flip them a couple of times and fry till golden brown even after the oil stops sizzling. This is the secret to get crispy texture of the puris both from inside and outside. Otherwise they remain soft from inside though they are crispy from outside.
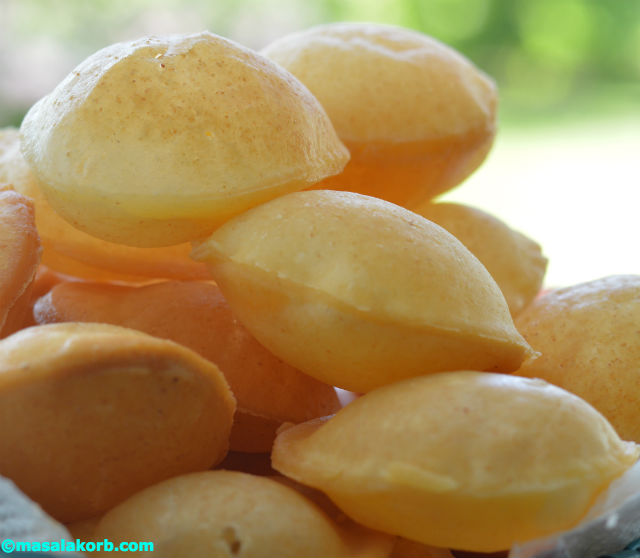
- Fry them till they are a light golden or golden in colour and drain puris onto a kitchen paper towel placed on a plate to remove excess oil.
- There might be a few flat puris too. Don’t worry, you can use them for other chaat recipes like bhel puri, sev puri or papdi chaat.
- Continue to fry till you are done will all puris.
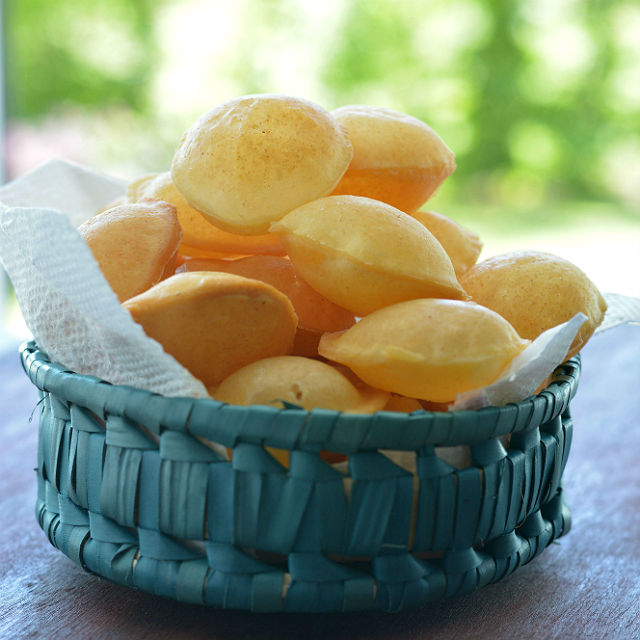
- Let the puris get cooled at room temperature and then store them in an airtight jar for later use. They stay crisp and can be stored for about a month if stored in an airtight jar. This recipe makes about 50 to 60 puris depending on the size you prefer to make.
Puri Recipe For Pani Puri
Ingredients
- 1 cup fine unroasted Semolina sooji/Rava
- ? teaspoon of baking soda
- 1 Tablespoon of all purpose flour Maida
- 6 Tablespoons Lukewarm water or as required Microwave water for 15 seconds
- ¼ teaspoon salt
- 1 teaspoon oil
- Oil for deep-frying
Instructions
- Kneading the dough: In a mixing bowl, take 1 cup fine un roasted semolina, ? teaspoon baking soda, ¼ teaspoon salt and 1 Tablespoon of all purpose flour (maida).
- Mix evenly using your fingers.
- Now start adding lukewarm water in parts and begin to knead the dough. First add 3 Tablespoons of water and knead well. Semolina absorbs water while kneading. Now add rest of the water. For me it took about 6 Tablespoons of water.
- The kneading is very important in getting the perfect texture for the puris. The dough shouldn’t be too soft or too hard. In case you add a little more water then just correct it by adding 1 to 2 teaspoons of semolina. Knead for about 4 to 5 minutes.
- Now add 1 Teaspoon of oil and knead for another 4 to 5 minute till the dough turns elastic with gluten strands, which is what gives the texture of the puris and also help in puffing up and staying crisp. Knead to a semi soft elastic dough, which is is crucial step in this recipe. Total kneading is 8 to 10 minutes.
- Cover the dough with a moist kitchen towel or a foil and let the dough rest for at least 30 minutes.
- Rolling the dough to make Puris: After 30 minutes knead the dough again for a minute and divide the dough into 2 to 3 parts depending on the workspace you have to roll the dough.
- Put a drop of oil and roll to a large round with out any cracks. You should be able to flip the entire rolled dough without tearing apart.
- Continue to roll to a thin and even round. If it is not rolled thin, then the base of the puris become thick and remains soft even after frying. If not rolled evenly then the puris will not puff up.
- Use a cookie cutter or a small lid as I have done and cut into small to medium discs so that they fit into your mouth. Alternatively you can make small balls and put a few ball on a roti press and press them hard. But I prefer the first method.
- Now remove the dough edges surrounding the small circles and place them on a plate without touching to each other.
- If it’s going to take a while to fry the puris, cover them with a moist towel.
- Roll the rest of the dough till done.
- You can also fry them simultaneously like how I have done but if you are doing for the first time, take your time!!
- Deep-frying Puris: Heat oil over medium heat for deep-frying in a pan. Once the oil is hot enough drop a small dough ball to check if the oil is ready. If the ball comes up to the surface, the oil is ready to fry the puris.
- Slide a few puris in the oil (5 to 8 depending on the size of the pan). The puris will puff up as soon as you drop them into oil. Press them with the slotted spoon so that they puff up.
- The oil shouldn’t be too hot now otherwise puris will become soft. Reduce the heat a little bit once the puris puff up. Flip them a couple of times and fry till golden brown even after the oil stops sizzling. This is the secret to get crispy texture of the puris both from inside and outside. Otherwise they remain soft from inside though they are crispy from outside.
- Fry them till they are a light golden or golden and drain puris onto a kitchen paper towel placed on a plate to remove excess oil. There might be a few flat puris too. Don’t worry, you can use them for other chaat recipes like bhel puri, sev puri or papdi chaat.
- Continue to fry till you are done will all puris.
- Let the puris get cooled at room temperature and then store them in an airtight jar for later use. They stay crisp and can be stored for about a month if stored in an airtight jar.
- This recipe makes about 50 to 60 puris depending on the size you prefer to make.
Notes
2. Formation of gluten strands is important and there has to be elasticity in the dough, which is the key crispy puris even after they are cooled.
3. Avoid adding too much flour/maida to the dough.
4. Always cover the dough and rolled puris with a damp cloth even while rolling rest of the puris. if the dough becomes dry, you will not be able to roll the dough easily. If the puris become dry, then the puris will not puff up.
5. The puris have to be rolled very thin, otherwise the puris won’t puff up well and will remain soft from within.
6. Fry the puris in moderately hot oil. If the oil is not hot enough, the puris will absorb oil and become soaked in oil and they will also become soft. Too hot oil will burn the puris.
7. Most important tip: After all this, if your puris are still slightly soft, heat an oven at 200F and place the puris on a baking tray and let them sit in the oven for 20 to 25 minutes at 200F. This will make them crispy.
Do check out other popular post related to this category-
- Coriander mint green chutney
- Dates tamarind chutney
- Sweet and Sour Tomato Chutney
- Chaat Style Sandwich
- Capsicum Aloo Paneer Tikki
- Mint Onion Pakoda
And many more to come!!….Stay tuned!!
Happy Cooking 🙂
Cheers!!
Padma

